Introduction
Imagine the comforting aroma of freshly baked bread wafting through your kitchen, creating an instant sense of warmth and home. Now, imagine achieving that blissful experience in just 20 minutes from start to finish. Sound too good to be true? Not with our incredible 20-Minute Homemade Bread recipe! This isn’t your grandma’s yeast bread that requires hours of rising and kneading; this is the magic of quick bread, designed for the modern, busy baker who craves instant gratification without compromising on deliciousness.
This recipe is a game-changer for anyone who has ever felt intimidated by traditional bread making or simply doesn’t have the time for it. Whether you’re a complete novice in the kitchen, a seasoned cook looking for a speedy side dish, or just someone hit by a sudden craving for warm, homemade goodness, this quick bread is your new best friend. It’s incredibly simple, uses basic pantry staples you likely already have, and delivers a wonderfully soft, tender loaf with a beautiful golden crust every single time.
Perfect for a last-minute breakfast, a comforting accompaniment to soup or stew, or simply slathered with butter and jam, this 20-Minute Homemade Bread is versatile, satisfying, and unbelievably easy. Get ready to impress yourself and your loved ones with a loaf that proves you don’t need hours to create something truly special. Let’s dive into the world of instant bread gratification!
Nutritional Information
Per serving (approximate values, based on 8 servings per loaf):
- Calories: 220 kcal
- Protein: 6g
- Carbohydrates: 35g
- Fat: 7g
- Fiber: 2g
- Sodium: 300mg
Ingredients
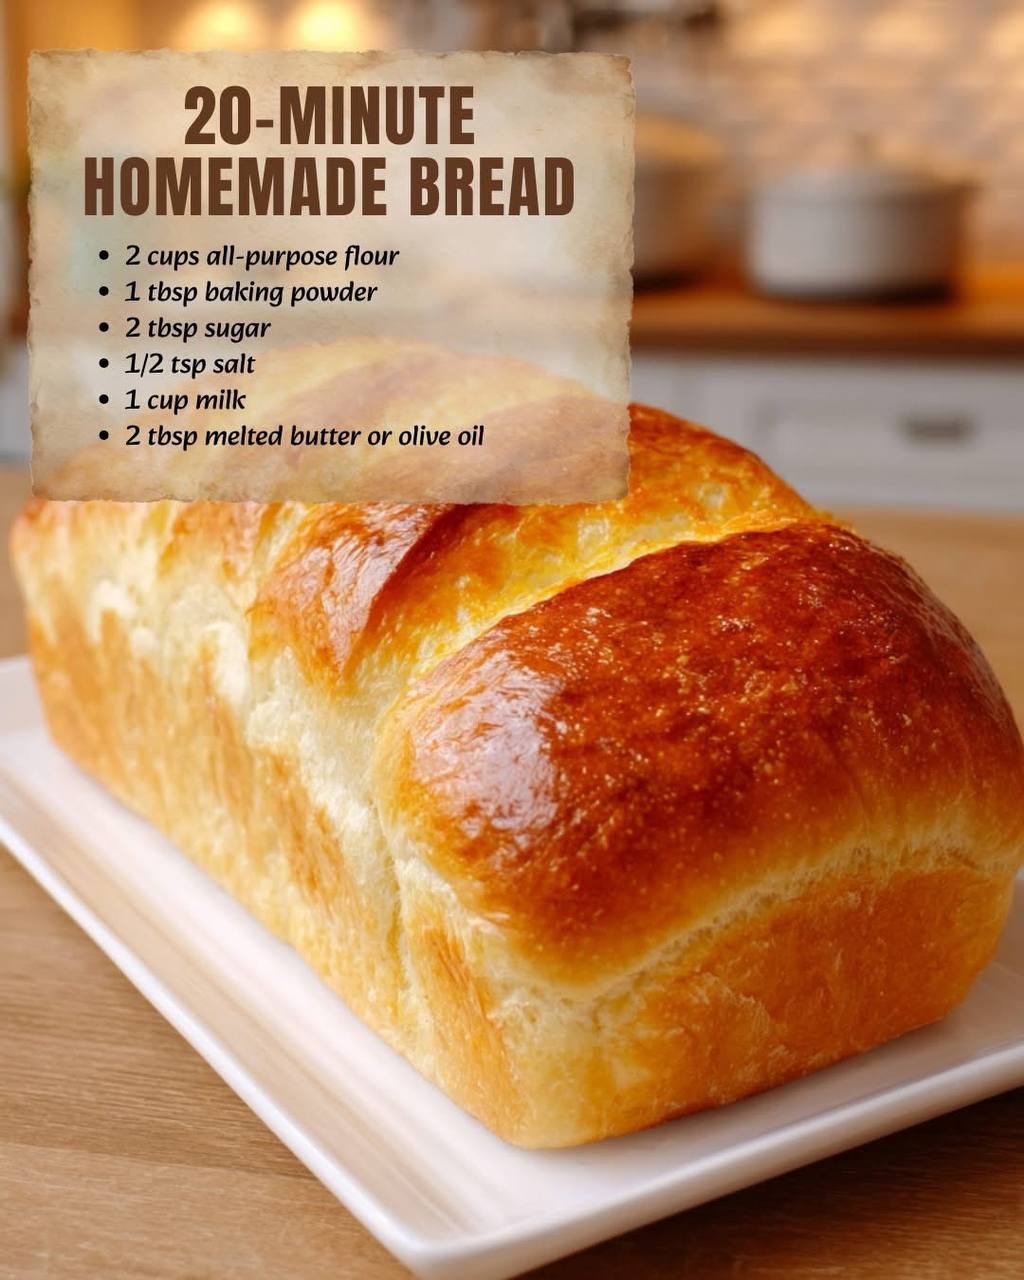
- 2 cups all-purpose flour
- 1 tablespoon baking powder
- 2 tablespoons granulated sugar
- 1/2 teaspoon salt
- 1 cup milk (whole or 2%)
- 2 tablespoons melted unsalted butter or olive oil, plus extra for greasing
Instructions
- Preheat your oven to 375°F (190°C). Lightly grease and flour a standard 9×5-inch loaf pan, or line with parchment paper, leaving an overhang on the long sides to easily lift the bread out later.
- In a large mixing bowl, whisk together the all-purpose flour, baking powder, granulated sugar, and salt until well combined and there are no lumps. This ensures the leavening agent is evenly distributed.
- In a separate medium bowl or a large measuring cup, combine the milk and melted butter or olive oil. Whisk them together briefly.
- Pour the wet ingredients into the dry ingredients. Using a wooden spoon or spatula, mix until just combined. Be careful not to overmix! Overmixing will develop the gluten too much, resulting in a tough, dense loaf. A few streaks of flour are perfectly fine.
- Scrape the batter into the prepared loaf pan and spread it evenly with your spatula. If desired, you can brush the top with a little extra milk for a slightly softer crust or a sprinkle of sugar for added sweetness and sparkle.
- Bake for 18-22 minutes, or until the top is golden brown and a wooden skewer or toothpick inserted into the center of the loaf comes out clean. The exact baking time may vary slightly depending on your oven.
- Once baked, remove the loaf pan from the oven and let the bread cool in the pan for about 5 minutes. This allows the bread to set and makes it easier to remove.
- Carefully lift the bread out of the pan using the parchment paper overhang or invert it onto a wire rack to cool completely before slicing. If you can’t wait, slicing it warm is perfectly acceptable and delicious!
Cooking Tips and Variations
For the best results with your 20-Minute Homemade Bread, always ensure your baking powder is fresh. Baking powder loses its potency over time, and an old batch might lead to a flat, dense loaf. You can test its freshness by adding a teaspoon to a small amount of hot water; it should fizz vigorously. Another crucial tip is to avoid overmixing the batter. Unlike yeast breads that benefit from kneading, quick breads become tough and chewy if the gluten is overdeveloped. Mix just until the ingredients are moistened, even if there are a few lumps. This gentle approach ensures a tender, soft crumb.
Don’t be afraid to customize this basic recipe to suit your tastes! For a sweeter loaf, consider adding a teaspoon of vanilla extract to the wet ingredients or a pinch of cinnamon to the dry ingredients. You could also fold in 1/2 cup of chocolate chips, dried cranberries, or chopped nuts (like walnuts or pecans) after mixing the wet and dry ingredients. If you prefer a savory bread, omit the sugar entirely and add 1/2 teaspoon of garlic powder, 1/4 cup of grated Parmesan cheese, or 2 tablespoons of fresh chopped herbs like rosemary, thyme, or chives. For a richer flavor, you can also swap out half of the milk for buttermilk. Just ensure you use fresh baking powder, as buttermilk reacts differently with it than regular milk.
Storage and Reheating
To keep your 20-Minute Homemade Bread fresh and delicious, allow it to cool completely before storing. Once cool, wrap the loaf tightly in plastic wrap or aluminum foil, or place it in an airtight container. It will stay fresh at room temperature for up to 2-3 days. For longer storage, you can slice the cooled loaf and store the slices in an airtight freezer-safe bag or container for up to 3 months. Freezing individual slices makes it convenient to grab just what you need.
When reheating, if stored at room temperature, you can simply toast slices in a toaster or toaster oven for a few minutes until warmed through and lightly crispy. For a whole loaf or larger portions, wrap it in foil and warm it in a 300°F (150°C) oven for about 10-15 minutes, or until heated through. If reheating from frozen, you can toast individual slices directly from the freezer, or thaw a whole loaf at room temperature overnight before warming it in the oven. The bread reheats beautifully, maintaining its soft texture and delicious flavor.
Frequently Asked Questions
Why is my quick bread too dense or tough?
The most common reason for a dense or tough quick bread is overmixing the batter. When you overmix, you develop the gluten in the flour too much, which leads to a chewy, heavy texture. To avoid this, mix the wet and dry ingredients only until they are just combined, and a few small lumps or streaks of flour are still visible. Another factor could be old or inactive baking powder, which won’t provide enough lift.
Can I substitute ingredients in this recipe?
Yes, many substitutions are possible! For the milk, you can use any dairy milk (whole, 2%, skim) or non-dairy alternatives like almond milk or soy milk, though the texture might vary slightly. For the fat, olive oil or any neutral-flavored oil can be used in place of melted butter. If you want to make it gluten-free, substitute the all-purpose flour with a 1:1 gluten-free baking flour blend that contains xanthan gum. Always ensure your baking powder is gluten-free if you have sensitivities.
How do I know when the bread is fully baked?
The best way to tell if your quick bread is fully baked is by checking its internal temperature and appearance. The top should be golden brown, and a wooden skewer or toothpick inserted into the very center of the loaf should come out clean, without any wet batter clinging to it. You can also gently press on the top of the loaf; if it springs back, it’s likely done. If it feels soft and leaves an indentation, it needs a few more minutes in the oven.