Introduction
Get ready to meet your new weeknight hero: the 5-Ingredient Sheet Pan Meatloaf! Forget everything you thought you knew about making meatloaf – the fuss, the multiple dishes, the endless cleanup. This recipe takes that classic, comforting flavor you love and transforms it into an incredibly simple, hands-off meal that’s perfect for even the busiest evenings. We’re talking minimal ingredients, maximum impact, and a cleanup so easy you’ll wonder where this recipe has been all your life.
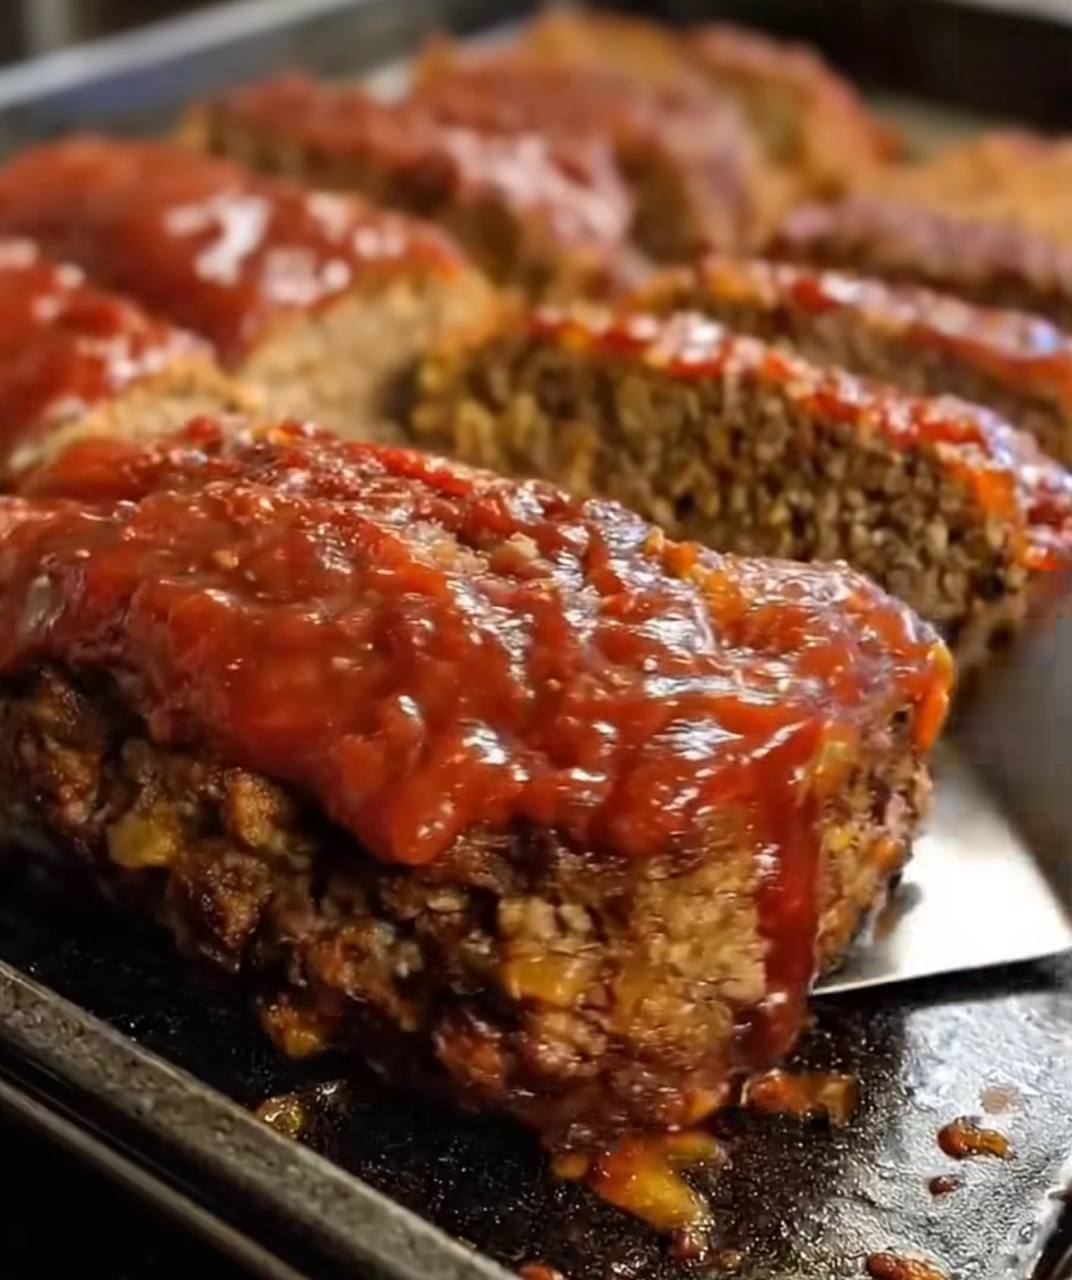
What makes this meatloaf so special? It’s all in the brilliant combination of five essential ingredients, cooked to perfection on a single sheet pan. The result is a juicy, flavorful meatloaf, enveloped in a savory, slightly caramelized glaze that will have everyone asking for seconds. Whether you’re a beginner cook looking for an easy win, a seasoned home chef craving simplicity, or someone just trying to get a delicious, budget-friendly dinner on the table without a fuss, this recipe is tailored for you. Prepare to fall in love with the easiest, most delicious meatloaf you’ve ever made.
Nutritional Information
Per serving (approximate values):
- Calories: 390
- Protein: 30g
- Carbohydrates: 25g
- Fat: 18g
- Fiber: 1g
- Sodium: 850mg
Ingredients
- 1.5 lbs ground beef (80/20 lean is recommended)
- 1 cup plain breadcrumbs
- 1 large egg
- 1 packet (1 oz) onion soup mix
- 1/2 cup ketchup, divided
Instructions
- Preheat your oven to 375°F (190°C). Line a large rimmed baking sheet with aluminum foil or parchment paper for easy cleanup.
- In a large mixing bowl, combine the ground beef, breadcrumbs, egg, onion soup mix, and 1/4 cup of the ketchup.
- Using your hands, gently mix the ingredients until just combined. Be careful not to overmix, as this can lead to a tough meatloaf.
- Divide the meat mixture into 4 equal portions. On the prepared baking sheet, shape each portion into an individual, elongated loaf, about 5-6 inches long and 2-3 inches wide. Arrange them with some space between each.
- Place the sheet pan in the preheated oven and bake for 20 minutes.
- While the meatloaves are baking, prepare the glaze. In a small bowl, combine the remaining 1/4 cup of ketchup with any additional seasonings you desire (see “Cooking Tips and Variations” for ideas).
- After 20 minutes, carefully remove the sheet pan from the oven. Spoon or brush the prepared ketchup glaze evenly over the top of each meatloaf.
- Return the sheet pan to the oven and continue baking for another 15-20 minutes, or until the internal temperature of the meatloaf reaches 160°F (71°C) when measured with a meat thermometer. The glaze should be slightly caramelized and bubbly.
- Once cooked, remove the sheet pan from the oven. Let the meatloaves rest on the pan for 5-10 minutes before serving. This allows the juices to redistribute, ensuring a more tender and flavorful result.
- Serve hot with your favorite side dishes.
Cooking Tips and Variations
This 5-ingredient sheet pan meatloaf is already a winner, but a few simple tips can elevate it even further, and slight variations can cater to different tastes or dietary needs.
Tips for the Best Meatloaf:
- Don’t Overmix: This is perhaps the most crucial tip for any meatloaf. Overworking the meat mixture will compress the proteins, resulting in a dense, tough meatloaf. Mix until just combined, stopping as soon as the ingredients are evenly distributed.
- Use the Right Ground Meat: For the most flavorful and moist meatloaf, opt for ground beef with an 80/20 fat ratio (80% lean, 20% fat). The fat renders during cooking, keeping the meatloaf juicy. If you use leaner ground meat, you might find your meatloaf a bit drier.
- Rest is Best: Just like with steaks or roasted meats, allowing the meatloaf to rest for 5-10 minutes after baking is essential. This allows the muscle fibers to relax and reabsorb the juices, preventing them from running out when you slice, ensuring a tender and moist result.
- Line Your Pan: Don’t skip lining your baking sheet with foil or parchment paper. This is key to the “easy cleanup” promise of a sheet pan meal. The sticky glaze and rendered fats can be tough to scrub off directly from the pan.
- Check Internal Temperature: For food safety and optimal doneness, use a meat thermometer. Ground beef should reach an internal temperature of 160°F (71°C). Insert the thermometer into the thickest part of the meatloaf.
- Individual Loaves vs. One Large Loaf: While you can make one large loaf, shaping the mixture into individual loaves (as recommended) speeds up cooking time and ensures more even baking. It also means more surface area for that delicious glaze!
Variations to Try:
- Glaze Boosters: The basic ketchup glaze is fantastic, but you can easily customize it. For a tangier glaze, add a splash of apple cider vinegar or Worcestershire sauce to the ketchup. For a sweeter, spicier kick, stir in a teaspoon of brown sugar and a pinch of cayenne pepper or a dash of hot sauce. A teaspoon of Dijon mustard can also add a nice zing.
- Meat Alternatives: While ground beef is classic, feel free to experiment with other ground meats. Ground turkey or chicken will make a lighter meatloaf, but you might need to add a touch more moisture (like a tablespoon of milk or broth) to prevent it from drying out. A mix of ground beef and pork also creates a wonderfully rich flavor.
- Binder Swaps: If you don’t have breadcrumbs, crushed saltine crackers, rolled oats (quick or old-fashioned, pulsed briefly in a food processor), or even crushed cornflakes can work as binders. Just ensure they are finely crushed to integrate well.
- Add a Little Veggie Power (Breaking the 5-Ingredient Rule Slightly): If you’re willing to add an extra ingredient or two, finely diced onion, bell pepper, or grated carrot can add moisture, flavor, and nutrients without significantly altering the texture. Just make sure they are very finely minced so they cook through evenly. Sautéing them briefly before adding to the meat mixture can also enhance their flavor.
- Spice It Up: Feel free to add a pinch of garlic powder, onion powder (if not using onion soup mix), or a dash of smoked paprika to the meat mixture for extra depth of flavor.
- Cheesy Delight: For a cheesy twist, you can mix 1/4 cup of shredded cheddar or mozzarella cheese into the meat mixture.
Storage and Reheating
One of the best things about meatloaf is how well it stores and reheats, making it an excellent candidate for meal prepping or enjoying delicious leftovers throughout the week.
Storage:
- Refrigeration: Allow any leftover meatloaf to cool completely to room temperature (within 2 hours of cooking). Transfer the individual meatloaf portions to an airtight container. Store in the refrigerator for up to 3-4 days.
- Freezing (Cooked Meatloaf): Cooked meatloaf freezes beautifully. Once cooled, wrap individual portions tightly in plastic wrap, then again in aluminum foil, or place them in freezer-safe airtight containers or heavy-duty freezer bags. This double-layer protection helps prevent freezer burn. Frozen cooked meatloaf can be stored for up to 2-3 months.
- Freezing (Uncooked Mixture): You can also prepare the meatloaf mixture ahead of time and freeze it uncooked. Form the loaves as directed, then wrap them individually in plastic wrap and foil. Place them in a freezer bag. Thaw overnight in the refrigerator before baking as per the instructions. This is a great meal prep hack!
Reheating:
- Microwave: For a quick reheat, place a single portion of meatloaf on a microwave-safe plate. Cover with a damp paper towel to help retain moisture. Heat on medium power for 1-2 minutes, or until heated through. Check and stir/rotate as needed. Be careful not to overheat, as this can dry out the meatloaf.
- Oven/Toaster Oven: This method is ideal for reheating multiple portions or if you prefer a slightly crisper exterior. Preheat your oven or toaster oven to 300-325°F (150-160°C). Place the meatloaf portions on an oven-safe baking dish or sheet. You can add a tablespoon of water or broth to the bottom of the dish and cover it loosely with foil to prevent drying. Reheat for 15-25 minutes, or until thoroughly warmed through.
- Skillet: For a delicious way to revive leftover meatloaf, slice it into thicker pieces (about 1/2 to 3/4 inch thick). Heat a little oil or butter in a non-stick skillet over medium heat. Sear the slices for 2-3 minutes per side until they are nicely browned and heated through. This creates a wonderful crust and is perfect for meatloaf sandwiches!
No matter how you store or reheat it, leftover meatloaf is incredibly versatile. It’s fantastic in sandwiches, crumbled over salads, or even chopped and added to chili or pasta sauces.
Frequently Asked Questions
Can I use ground turkey instead of ground beef?
Yes, you can absolutely use ground turkey! However, since ground turkey is typically leaner than ground beef, you might find the meatloaf a bit drier. To counteract this, consider using ground turkey with a higher fat content (like 93/7 or 90/10) or adding an extra tablespoon of milk or broth to the mixture to ensure it stays moist.
What if I don’t have onion soup mix?
If you don’t have onion soup mix, you can create a similar flavor profile using individual spices. Combine 1 tablespoon dried minced onion, 1 teaspoon onion powder, 1/2 teaspoon garlic powder, 1/2 teaspoon salt, and 1/4 teaspoon black pepper. This blend will provide a good substitute for the flavor base.
Why do my meatloaves sometimes crack on top?
Cracking on top usually happens when the meatloaf mixture is too dry or when it bakes too quickly. Ensure you don’t overmix the meat, as this can make it tough and prone to cracking. If you’re using a very lean ground meat, adding a bit more moisture (like an extra tablespoon of ketchup or a splash of milk) can help prevent cracking. Also, ensure your oven temperature isn’t too high, which can cause the exterior to cook and set before the interior has fully expanded.
Can I prepare the meatloaf mixture ahead of time?
Yes, you can! Mix all the meatloaf ingredients as directed, form the individual loaves, and then cover them tightly with plastic wrap on the baking sheet. Refrigerate for up to 24 hours before baking. When ready to cook, simply remove from the fridge and bake as per the instructions, adding a few extra minutes to the cooking time if they are very cold.