Introduction
Prepare to embark on a journey of unparalleled chocolate indulgence. Our Triple Chocolate Cake isn’t just a dessert; it’s a celebration, a statement, and a symphony of cocoa in every glorious bite. Imagine a cake so rich, so moist, and so deeply imbued with chocolate flavor that it transcends the ordinary. This isn’t your average chocolate cake; it’s a masterpiece featuring three distinct layers of chocolatey goodness: a tender, dark chocolate cake, a luscious, smooth chocolate filling, and a glistening, decadent chocolate ganache glaze that cascades down its sides. Each element works in harmony, building to an extraordinary experience that will delight even the most discerning chocolate connoisseur.
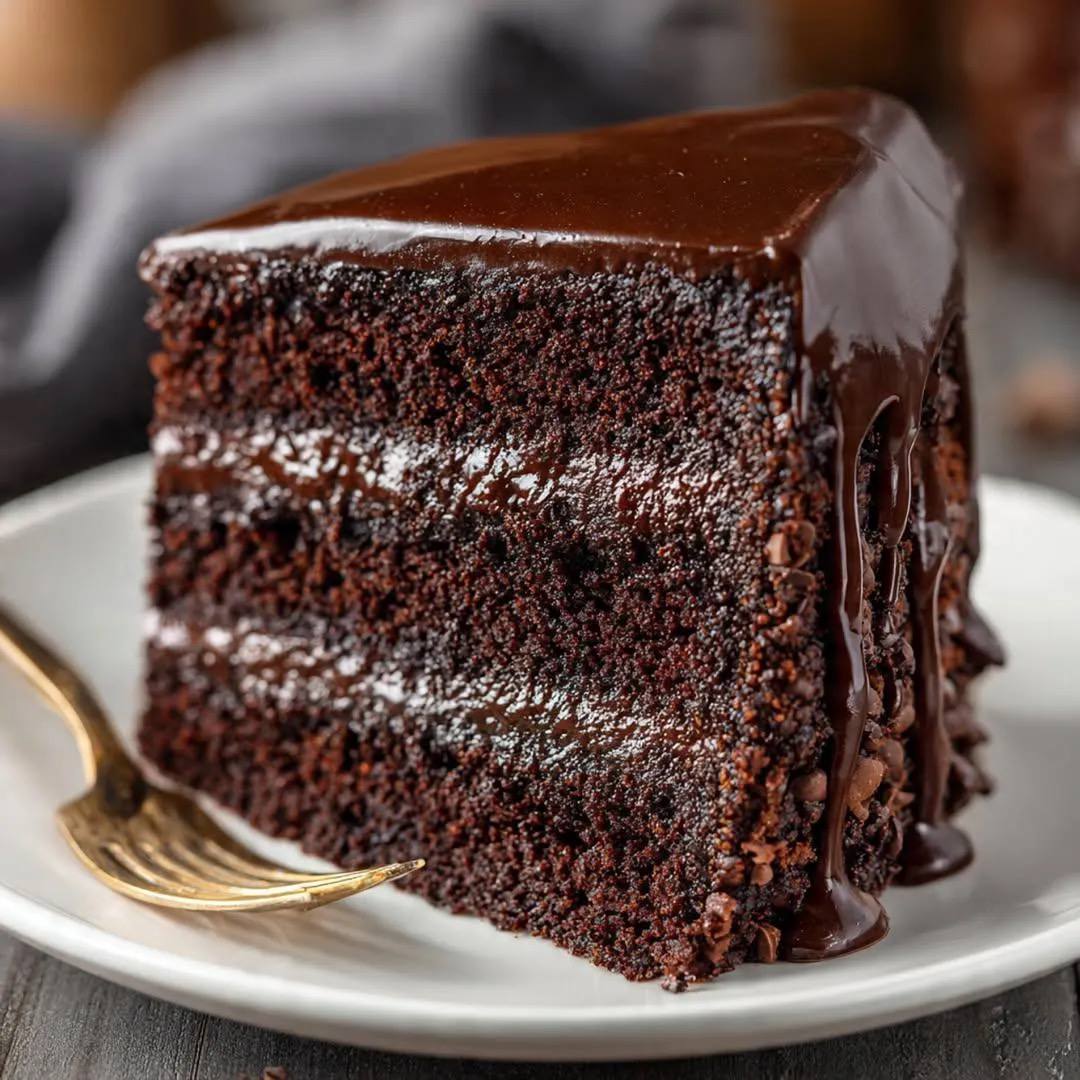
What makes this cake truly “triple chocolate”? It begins with the cake layers themselves, crafted to be incredibly moist and intensely flavored with premium cocoa. Nestled between these layers is a silken chocolate filling, richer and more profound than a simple buttercream, adding another dimension of creamy decadence. Finally, the entire creation is enveloped in a glossy, pourable dark chocolate ganache, creating a stunning visual appeal with its elegant drips and sealing in all that glorious flavor. The result is a cake that is both visually striking and utterly irresistible, making it the perfect centerpiece for birthdays, holidays, or any occasion that calls for a truly unforgettable dessert.
Despite its luxurious appearance, creating this Triple Chocolate Cake is surprisingly achievable for the home baker. We’ll guide you through each step, ensuring you achieve that perfect balance of a tender, fine-crumbed cake, a smooth and satisfying filling, and a show-stopping, mirror-like glaze. Get ready to impress your friends, family, and most importantly, yourself, with this ultimate chocolate indulgence. The combination of textures – from the soft crumb to the creamy filling and the slightly firm ganache – alongside the complex layers of chocolate flavor, promises a slice of pure bliss.
Nutritional Information
Per serving (approximate values):
- Calories: 650
- Protein: 8g
- Carbohydrates: 85g
- Fat: 35g
- Fiber: 5g
- Sodium: 280mg
Ingredients
For the Chocolate Cake Layers:
- 2 ½ cups all-purpose flour
- 1 ½ cups granulated sugar
- ¾ cup unsweetened Dutch-processed cocoa powder
- 2 teaspoons baking soda
- 1 teaspoon baking powder
- 1 teaspoon salt
- 1 cup buttermilk, at room temperature
- ½ cup vegetable oil
- 2 large eggs, at room temperature
- 1 teaspoon vanilla extract
- 1 cup hot strong brewed coffee
For the Chocolate Filling:
- 1 cup (2 sticks) unsalted butter, softened
- 4 cups powdered sugar, sifted
- ¾ cup unsweetened Dutch-processed cocoa powder, sifted
- ½ teaspoon salt
- ½ cup heavy cream
- 1 teaspoon vanilla extract
For the Chocolate Ganache Glaze:
- 1 ½ cups (about 9 ounces) good quality dark chocolate (60-70% cacao), finely chopped
- 1 cup heavy cream
- 2 tablespoons unsalted butter, optional, for extra shine
For Decoration (Optional but Recommended):
- 1 cup mini semi-sweet chocolate chips
Instructions
A. Preparing the Chocolate Cake Layers:
- Preheat your oven to 350°F (175°C). Grease and flour three 8-inch round cake pans, or line the bottoms with parchment paper circles.
- In a large bowl, whisk together the all-purpose flour, granulated sugar, Dutch-processed cocoa powder, baking soda, baking powder, and salt until well combined and no lumps remain. This ensures even distribution of leavening agents and cocoa.
- In a separate medium bowl, whisk together the buttermilk, vegetable oil, large eggs, and vanilla extract until smooth. Ensure all wet ingredients are at room temperature for better emulsification.
- Pour the wet ingredients into the dry ingredients. Mix on low speed with an electric mixer, or by hand with a whisk, until just combined. Do not overmix; overmixing can lead to a tough cake.
- Carefully pour in the hot brewed coffee. The batter will be thin, but this is normal. Stir until just combined. The hot coffee helps to “bloom” the cocoa powder, intensifying its flavor, and contributes to the cake’s moistness.
- Divide the batter evenly among the three prepared cake pans. You can use a kitchen scale for precision, aiming for approximately 1 ¾ to 2 cups of batter per pan.
- Bake for 25-30 minutes, or until a wooden skewer inserted into the center of a cake comes out with only a few moist crumbs attached. Avoid overbaking, which can dry out the cake.
- Let the cake layers cool in their pans on a wire rack for 10-15 minutes. This allows them to firm up slightly before handling.
- After cooling in the pans, carefully invert the cakes onto the wire racks, remove the pans, and peel off any parchment paper. Let the cake layers cool completely to room temperature before frosting, which usually takes 1-2 hours. Frosting warm cakes will cause the frosting to melt and slide.
B. Making the Chocolate Filling:
- In the bowl of a stand mixer fitted with the paddle attachment, or with a hand mixer, beat the softened unsalted butter on medium speed until light and fluffy, about 2-3 minutes. This incorporates air, making the frosting lighter.
- Gradually add the sifted powdered sugar and sifted cocoa powder to the butter, mixing on low speed until combined. Start slowly to prevent a cloud of sugar and cocoa.
- Add the salt, heavy cream, and vanilla extract. Increase the speed to medium-high and beat for another 3-5 minutes, or until the frosting is light, fluffy, and smooth. If the frosting is too thick, add more heavy cream, one teaspoon at a time. If it’s too thin, add a little more sifted powdered sugar.
- Set aside until ready to assemble the cake.
C. Assembling the Cake:
- Once the cake layers are completely cool, use a long serrated knife or a cake leveler to level the tops of the cakes if they have domed. This creates flat surfaces for stable, even layers.
- Place one cake layer on your serving platter or cake stand. If desired, secure it with a dab of frosting underneath to prevent sliding.
- Spread about ⅔ cup of the chocolate filling evenly over the top of the first cake layer, extending to the edges.
- Carefully place the second cake layer on top of the filling, pressing down gently to secure.
- Spread another ⅔ cup of chocolate filling evenly over the second layer.
- Place the third and final cake layer on top.
- Apply a very thin layer of chocolate filling all over the top and sides of the entire cake. This is called a “crumb coat” and is essential for trapping any loose crumbs, ensuring a clean finish for your final decoration.
- Refrigerate the crumb-coated cake for 15-20 minutes to allow the crumb coat to set. This step is crucial for neat decorating.
- Once the crumb coat is set, gently press the mini chocolate chips onto the sides of the cake. You can do this by holding a handful of chips and gently pressing them against the side, working your way around the entire cake. Alternatively, you can place the chips on a small tray and roll the sides of the cake through them if your cake is crumb-coated well enough to allow movement.
- Return the cake to the refrigerator while you prepare the ganache.
D. Preparing and Applying the Ganache Glaze:
- Place the finely chopped dark chocolate in a heatproof bowl.
- In a small saucepan, heat the heavy cream over medium heat until it just begins to simmer around the edges (do not boil).
- Pour the hot cream over the chopped chocolate. Let it sit undisturbed for 5 minutes to allow the chocolate to melt.
- After 5 minutes, gently whisk the mixture starting from the center and working your way outwards until it is completely smooth and glossy. If using, whisk in the 2 tablespoons of unsalted butter for extra shine and richness.
- Let the ganache cool slightly at room temperature for 10-15 minutes, stirring occasionally, until it reaches a pourable but slightly thickened consistency. It should be warm to the touch but not hot, and thick enough to coat the back of a spoon. If it’s too thin, it will run off the cake too quickly; if too thick, it won’t pour smoothly.
- Remove the chilled cake from the refrigerator. Place it on a wire rack set over a baking sheet (to catch drips).
- Pour the ganache slowly and evenly over the center of the cake, allowing it to naturally spread and drip down the sides. Use an offset spatula or the back of a spoon to gently guide the ganache to the edges if needed, ensuring even coverage. Don’t overwork it.
- Once the ganache has fully coated the top and sides, allow it to set at room temperature for about 30 minutes, or in the refrigerator for 15-20 minutes, until it is firm to the touch but still slightly pliable.
- Carefully transfer the cake from the wire rack to your serving platter.
Cooking Tips and Variations
For the perfect crumb, remember that using room temperature ingredients for the cake batter is crucial. Eggs, buttermilk, and even butter for the filling should be at room temperature to ensure they emulsify properly, leading to a smooth batter and a tender, even-textured cake. Don’t overmix the cake batter; mix only until the ingredients are just combined. Overmixing develops gluten, resulting in a tough, dry cake. A good quality Dutch-processed cocoa powder is highly recommended for this recipe, as it provides a darker color and a mellower, less acidic chocolate flavor that is characteristic of rich chocolate cakes. Adding hot coffee to the batter not only deepens the chocolate flavor but also contributes significantly to the cake’s moistness without imparting a strong coffee taste.
When making the ganache, the quality of your chocolate truly shines through. Use a good quality dark chocolate with 60-70% cacao for the best flavor and texture. Ensure your chocolate is finely chopped, as this allows it to melt evenly and quickly when the hot cream is poured over it, preventing lumps. Be patient and let the hot cream sit on the chocolate for a few minutes before whisking; this allows the residual heat to do its work. For a perfectly glossy ganache, avoid over-whisking once it’s smooth, as this can incorporate air bubbles. The consistency of the ganache is key for pouring; it should be warm but not hot, flowing like thick syrup. If it’s too thick, gently warm it over a double boiler for a few seconds; if too thin, let it cool a bit longer. For variations, consider adding a pinch of chili powder or a teaspoon of espresso powder to the cake batter for an extra layer of complexity. A little orange zest can also brighten the chocolate flavor. You could also experiment with different types of chocolate for the ganache, such as semi-sweet or even a blend with milk chocolate for a sweeter profile.
Achieving perfectly layered cakes starts with leveling your cooled cake layers. A serrated knife or a dedicated cake leveler will help you create flat, even surfaces, ensuring your cake stands tall and proud. The crumb coat is an indispensable step for a professional finish; it seals in any loose crumbs, preventing them from mixing into your final layers of frosting or ganache. Make sure this thin layer sets in the refrigerator before proceeding. When applying the mini chocolate chips to the sides, gently press them onto the crumb-coated cake. If the crumb coat is slightly tacky from being chilled but not fully hardened, the chips will adhere beautifully. For a truly smooth application, consider using your hands to gently press the chips, rotating the cake on a turntable. Lastly, remember that this cake, while delicious, is rich. Serving it slightly chilled allows the ganache to hold its shape beautifully and provides a pleasant contrast of textures, but letting it come to almost room temperature before serving can enhance the nuanced flavors of the chocolate.
Storage and Reheating
To store your Triple Chocolate Cake, cover it loosely with plastic wrap or place it in an airtight cake carrier. It can be kept at room temperature for up to 2 days, especially if your kitchen is cool. For longer storage, refrigerate the cake for up to 5 days. When refrigerating, ensure it’s well-covered to prevent drying out and absorption of refrigerator odors. The ganache will firm up considerably in the refrigerator, so it’s best to allow the cake to come to room temperature for at least 30 minutes to an hour before serving for the best texture and flavor. This allows the cake layers to soften and the ganache to become more yielding and luxurious. Freezing is also an option for extended storage. Wrap individual slices or the entire cake (if fully cooled and set) tightly in plastic wrap, then an additional layer of aluminum foil. It can be frozen for up to 2-3 months. Thaw frozen cake in the refrigerator overnight, then bring to room temperature before serving.
Frequently Asked Questions
What kind of cocoa powder should I use for the cake?
For this Triple Chocolate Cake, we recommend using unsweetened Dutch-processed cocoa powder. Dutch-processed cocoa has been treated to reduce its acidity, resulting in a darker color and a smoother, milder chocolate flavor compared to natural cocoa powder. This contributes to the rich, deep chocolate hue and the less bitter taste of the cake layers, complementing the other chocolate elements beautifully. While natural cocoa can be used in a pinch, it may result in a slightly lighter colored and more acidic-tasting cake.
Can I make the cake layers ahead of time?
Yes, absolutely! The cake layers can be baked up to 2 days in advance. Once completely cooled, wrap each layer tightly in plastic wrap and store them at room temperature. For longer storage, you can freeze the wrapped cake layers for up to 2 weeks. Thaw them in the refrigerator overnight or at room temperature for a few hours before assembling. This can help break up the baking process and make cake assembly less daunting on the day you plan to serve.
My ganache is too thin/thick, what should I do?
If your ganache is too thin and running off the cake too quickly, it likely needs more time to cool and thicken. Place it in the refrigerator for 10-15 minute intervals, stirring occasionally, until it reaches the desired pourable but slightly viscous consistency. If your ganache is too thick and won’t pour smoothly, it may have cooled down too much. Gently warm it over a double boiler (a bowl set over a pot of simmering water) for a few seconds, stirring constantly, until it becomes more fluid. Be careful not to overheat it, as this can cause it to seize or become oily.
How can I get the mini chocolate chips to stick to the sides neatly?
The key to getting mini chocolate chips to stick neatly is a good crumb coat. After applying the crumb coat to your cake, chill it in the refrigerator until it’s firm but still slightly tacky. This provides a perfect surface for the chips to adhere to. You can gently press handfuls of chips onto the sides of the cake, or for a more even application, place a generous amount of chips on a small tray or rimmed baking sheet. Holding the cake firmly with one hand on top, gently roll the sides of the cake through the chips, applying light pressure to ensure they stick. If you have any bare spots, simply press extra chips onto them by hand.