Introduction
There’s an undeniable magic to freshly baked bread – that irresistible aroma filling your kitchen, the warm, soft crumb, and the satisfying crunch of a golden crust. But for many, the thought of homemade bread conjures images of messy countertops, endless kneading, and complex techniques. What if we told you there’s a revolutionary way to achieve that same deliciousness with minimal fuss and maximum fun? Enter “Bread in a Bag,” a game-changing recipe that simplifies the bread-making process to an astonishing degree, making it accessible to even the most novice bakers.
This “Bread in a Bag” method is exactly what it sounds like: you mix, and in many cases, even perform the first rise of your dough, all within the confines of a large Ziploc-style bag. Forget sticky hands and flour-dusted surfaces; this technique keeps the mess contained while delivering beautifully risen, perfectly baked loaves. It’s a fantastic entry point for beginners eager to dip their toes into the world of yeast baking, an ideal activity for kids to get involved in the kitchen without making a huge cleanup job, and a convenient solution for busy individuals who crave homemade goodness but are short on time. The convenience is unmatched, and the results are consistently delicious, yielding tender, airy bread with a delightful golden crust.
Prepare to be amazed at how effortlessly you can transform a few simple pantry staples into warm, comforting bread. Whether you’re looking for an easy weeknight side, a fun project with the family, or just a simpler path to your daily dose of carbs, “Bread in a Bag” promises a delightful baking experience from start to finish. Get ready to embrace the joy of homemade bread, simplified.
Nutritional Information
Per serving (approximate values for one small loaf, assuming 4 small loaves from the recipe):
- Calories: 350-400
- Protein: 10-12g
- Carbohydrates: 65-75g
- Fat: 8-10g
- Fiber: 2-3g
- Sodium: 700-800mg
Ingredients
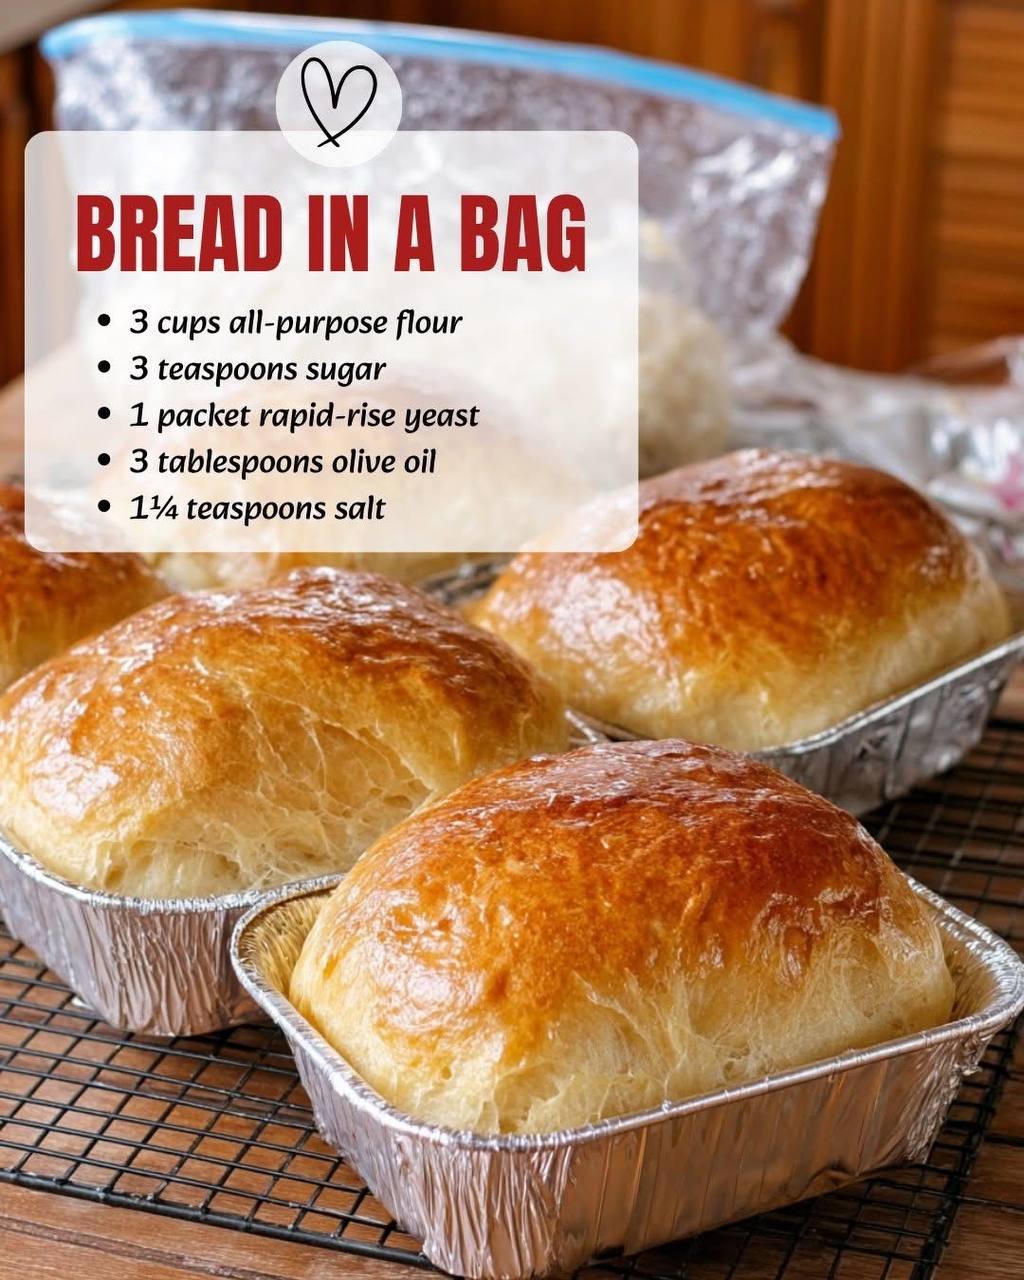
- 3 cups all-purpose flour
- 3 teaspoons sugar
- 1 packet (or 2 1/4 teaspoons) rapid-rise yeast
- 1 1/4 teaspoons salt
- 1 cup warm water (105-115°F / 40-46°C)
- 3 tablespoons olive oil, plus extra for greasing
Instructions
- Prepare Your Workspace and Equipment: Gather all your ingredients and equipment. You will need a large (gallon-sized or larger) sturdy Ziploc-style freezer bag, four small disposable aluminum loaf pans, and a wire cooling rack. Lightly grease the inside of each aluminum loaf pan with a little olive oil or cooking spray.
- Combine Dry Ingredients in the Bag: Open the large Ziploc-style bag. Add the 3 cups of all-purpose flour, 3 teaspoons of sugar, 1 packet of rapid-rise yeast, and 1 1/4 teaspoons of salt into the bag.
- Seal and Mix Dry Ingredients: Seal the bag, leaving a little air inside. Hold the bag and gently shake it, tumbling the ingredients around until they are thoroughly combined. This ensures the yeast, sugar, and salt are evenly distributed throughout the flour.
- Add Wet Ingredients: Open the bag and pour in the 1 cup of warm water and 3 tablespoons of olive oil.
- Mix in the Bag: Reseal the bag, making sure to press out as much air as possible before sealing completely. Now, use your hands to gently knead the dough from the outside of the bag. Squeeze, squish, and massage the bag, working the wet ingredients into the dry until a shaggy dough forms and no dry spots of flour remain. Continue mixing for about 2-3 minutes until the dough comes together into a cohesive ball. Be careful not to tear the bag.
- First Rise (in the Bag): Once the dough is mixed, leave it inside the sealed bag. Place the bag in a warm, draft-free spot for its first rise. This could be on top of the refrigerator, in a slightly warm (but not hot) oven that has been turned off, or near a sunny window. Let the dough rise for 45-60 minutes, or until it has doubled in size. You’ll notice the bag will expand as the dough rises.
- Punch Down and Divide Dough: Once the dough has doubled, gently punch it down inside the bag to release the air. Open the bag and carefully remove the dough onto a lightly floured surface. Divide the dough into four equal portions. The easiest way to do this is to shape the dough into a log and then cut it into four pieces.
- Shape the Loaves: Take each portion of dough and gently shape it into a small loaf that will fit snugly into your prepared aluminum loaf pans. You can do this by gently patting it into a rectangle and then rolling it up tightly, pinching the seam closed.
- Second Rise (in Pans): Place each shaped dough portion into its greased aluminum loaf pan. Cover the pans loosely with plastic wrap or a clean kitchen towel. Return them to a warm, draft-free spot for the second rise. Let them rise for another 30-45 minutes, or until they have nearly doubled in size and look puffy.
- Preheat Oven: While the dough is on its second rise, preheat your oven to 375°F (190°C).
- Bake the Bread: Once the loaves have risen, carefully place the aluminum pans into the preheated oven. Bake for 20-30 minutes, or until the tops are golden brown and the internal temperature reaches 200-210°F (93-99°C). If you tap the bottom of a loaf, it should sound hollow.
- Cooling: Once baked, carefully remove the loaves from the oven. Immediately remove them from the aluminum pans and transfer them to a wire cooling rack. Allow the bread to cool completely before slicing and serving. This is crucial for the texture; slicing hot bread can make it gummy.
Cooking Tips and Variations
Water Temperature is Key: For rapid-rise yeast, water between 105-115°F (40-46°C) is ideal. Too cold, and the yeast won’t activate; too hot, and you’ll kill it. Use a thermometer for accuracy, or if you don’t have one, it should feel comfortably warm to the touch, like a warm bath, not scalding.
Check Your Yeast: If you’re unsure if your yeast is active, you can “proof” it separately. In a small bowl, combine the warm water, sugar, and yeast. Let it sit for 5-10 minutes. If it becomes foamy and bubbly, your yeast is alive and ready to use. If not, your yeast is likely dead, and you’ll need a fresh packet.
Choosing Your Bag: A sturdy, gallon-sized Ziploc-style freezer bag is highly recommended. Thinner storage bags might tear during the mixing process, leading to a mess. Ensure the seal is robust to prevent leaks, especially during the first rise.
Preventing Leaks and Maximizing Mixing: When sealing the bag after adding wet ingredients, try to press out as much air as possible. This creates a more compact environment for mixing and prevents the bag from bursting if the dough rises too vigorously during mixing. Use a gentle but firm squishing motion to combine ingredients.
Greasing Pans: Don’t skip greasing the aluminum loaf pans! Even though they are disposable, the bread can still stick, making removal difficult and potentially tearing your beautiful crust. Olive oil or cooking spray works perfectly.
Troubleshooting Dough Not Rising: If your dough isn’t rising, the most common culprits are inactive yeast (check water temperature or yeast freshness) or a too-cold environment. Try moving the dough to a warmer spot. Give it a bit more time than the recipe suggests if your kitchen is cool.
Dense Bread: Dense bread can result from not enough rising time, too much flour, or overmixing. Ensure your dough doubles in size during both rises. Measure flour accurately (spoon and level, don’t scoop directly from the bag). The “in a bag” method helps prevent overmixing, but still be gentle.
Golden Crust: If your bread isn’t browning enough, you can increase the oven temperature slightly for the last 5-10 minutes of baking, or move the pans to a higher rack. If it’s browning too quickly, cover loosely with foil.
Flavor Variations: This basic recipe is a fantastic canvas for creativity!
- Herby Loaves: Add 1-2 tablespoons of dried herbs like Italian seasoning, rosemary, or thyme to the dry ingredients for aromatic bread.
- Cheesy Goodness: Mix in 1/2 cup of shredded Parmesan, cheddar, or a blend of cheeses during the last minute of dough mixing in the bag.
- Garlic Bread: Add 1 teaspoon of garlic powder to the dry ingredients, or brush baked loaves with melted garlic butter after cooling.
- Seed Power: Incorporate 2-3 tablespoons of sesame seeds, poppy seeds, or a mix of “everything bagel” seasoning into the dough, or sprinkle on top before baking.
- Whole Wheat Twist: Substitute up to 1 cup of the all-purpose flour with whole wheat flour for a nuttier flavor and added fiber. You might need a tiny bit more water.
Storage and Reheating
Storage: Once completely cooled, homemade bread is best stored at room temperature. For optimal freshness, place the loaves in an airtight container or a bread box. You can also wrap them tightly in plastic wrap or aluminum foil. Avoid refrigerating bread, as it tends to dry it out and make it stale faster. It will stay fresh for 3-4 days.
Freezing for Longer Storage: If you won’t eat all the bread within a few days, it freezes beautifully. Once completely cooled, wrap each loaf tightly in plastic wrap, then again in aluminum foil, or place in a freezer-safe bag. It can be stored in the freezer for up to 3 months. Thaw at room temperature when ready to enjoy.
Reheating:
- Oven Method: For whole loaves, preheat your oven to 350°F (175°C). If frozen, unwrap and place the loaf directly on the oven rack. Bake for 10-15 minutes, or until warmed through and the crust is crisp again. If thawed, 5-7 minutes should suffice.
- Slices: To reheat individual slices, you can toast them in a toaster, toaster oven, or a dry skillet over medium heat until warm and slightly crispy.
Frequently Asked Questions
Can I make this recipe with gluten-free flour?
While the “Bread in a Bag” method is simple, substituting gluten-free flour can be a bit tricky as gluten-free flours behave differently and often require specific binders or different hydration levels. For best results, it’s recommended to use a dedicated gluten-free bread flour blend and follow a gluten-free bread recipe designed for that specific flour, as the ratios will likely need adjustment.
What if I don’t have rapid-rise yeast? Can I use active dry yeast?
Yes, you can use active dry yeast, but the rising times will be slightly longer. Active dry yeast typically needs to be “proofed” first. To do this, combine the warm water, sugar, and active dry yeast in a small bowl and let it sit for 5-10 minutes until foamy. Then, add this mixture along with the olive oil to the dry ingredients in the bag. Expect both the first and second rises to take about 15-30 minutes longer than with rapid-rise yeast.
Can I make larger loaves or bake this as one large loaf?
Absolutely! If you prefer larger loaves, you could divide the dough into two larger portions for two standard-sized loaf pans (9×5 inches). The baking time will need to be increased, likely to 30-40 minutes, or until golden brown and cooked through. If baking as one large loaf, use a large loaf pan and expect baking time to be 40-50 minutes. Always check for doneness with a hollow tap or internal temperature reading.
How can I get a chewier crust?
For a chewier crust, you can add a small pan of water to the bottom rack of your oven while preheating and baking. The steam created will help the crust develop a chewier texture. You can also spritz the loaves with water a couple of times during the first 10 minutes of baking. Another trick is to bake the bread on a baking stone or preheated baking sheet for better heat transfer to the bottom of the loaf.