Introduction
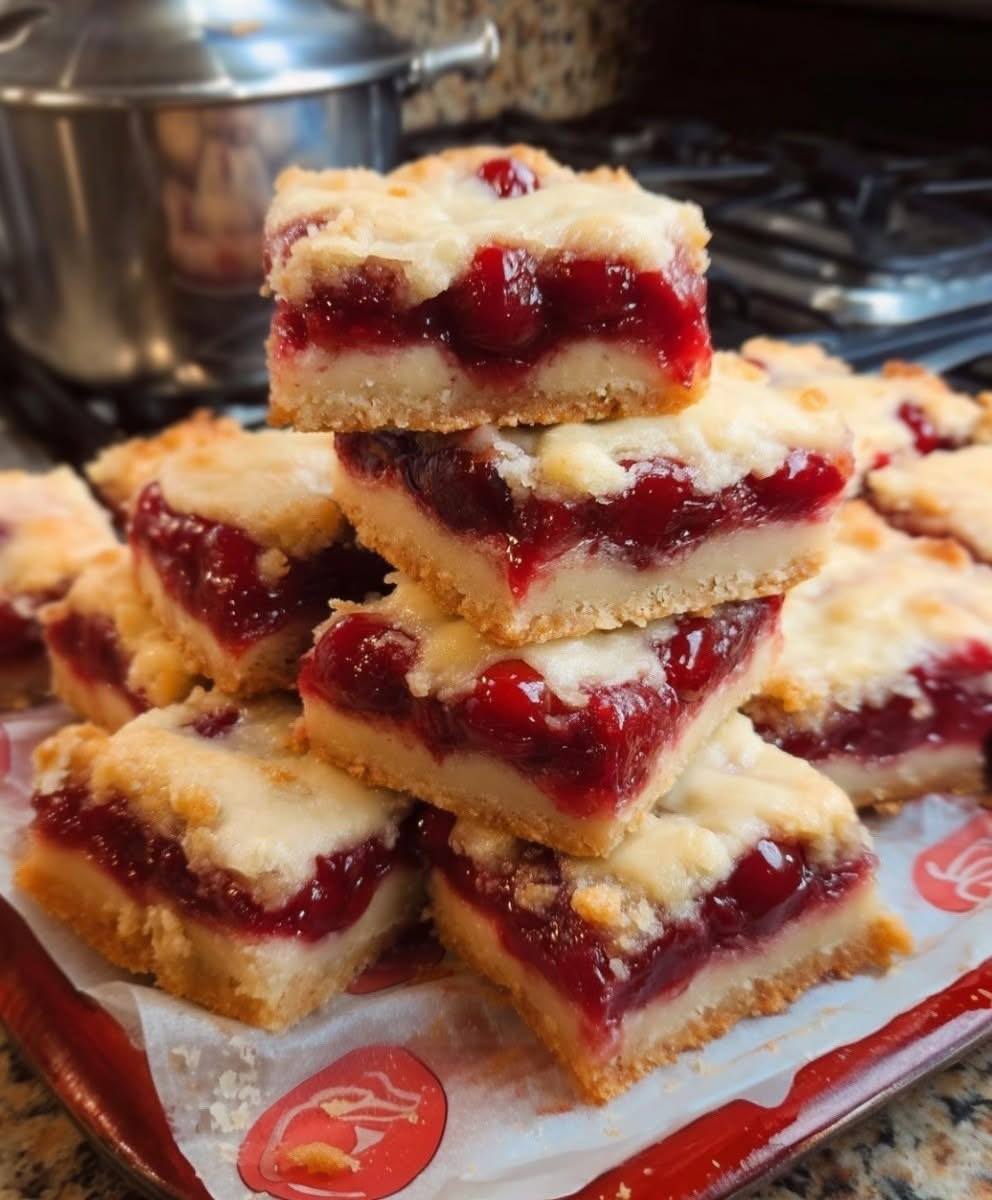
Step right up, sweet tooths and comfort food connoisseurs! Today, we’re diving headfirst into a dessert that’s as delightful to make as it is to devour: Cherry Crumble Bars. Imagine a buttery, tender shortbread crust forming the perfect foundation, generously topped with a vibrant, sweet-tart cherry filling that bursts with fruity goodness. And just when you thought it couldn’t get any better, a golden, crumbly streusel topping crowns this masterpiece, adding an irresistible texture and a hint of warmth. These bars aren’t just a dessert; they’re a hug in edible form, evoking nostalgic memories of grandma’s kitchen and sunny summer days.
What makes Cherry Crumble Bars an absolute must-try? For starters, their irresistible flavor profile strikes a perfect balance between the sweetness of ripe cherries and a delightful tang, all enveloped in rich, buttery goodness. The texture journey is equally captivating – from the firm yet tender crust to the gooey, juicy fruit filling and the satisfying crunch of the crumble. They’re incredibly versatile, perfect for a casual family dessert, a potluck showstopper, or a delightful afternoon snack with a cup of coffee. Plus, they’re surprisingly easy to make, even for novice bakers, thanks to our clever one-dough method that creates both the crust and the crumble with minimal fuss. Prepare to fall in love with this timeless classic!
Beyond their ease and deliciousness, Cherry Crumble Bars are a true crowd-pleaser. Their vibrant red filling peeking through the golden crumble is visually appealing, making them a festive addition to any gathering. Whether you’re using fresh, juicy cherries in peak season or relying on the convenience of frozen or canned varieties, this recipe ensures a consistently mouth-watering result. The combination of sweet, tart, buttery, and fruity notes makes each bite an experience, leaving you craving just one more. Get ready to bake a batch of pure joy that will have everyone asking for the recipe!
Nutritional Information
Per serving (approximate values):
- Calories: 320 kcal
- Protein: 3g
- Carbohydrates: 45g
- Fat: 15g
- Fiber: 2g
- Sodium: 150mg
Ingredients
- 1 ½ cups (3 sticks or 340g) unsalted butter, very cold and cut into ½-inch cubes
- 3 cups (360g) all-purpose flour, plus 2 tablespoons for the filling
- 1 cup (200g) granulated sugar, plus ½ cup for the filling
- ½ teaspoon salt
- 1 teaspoon pure vanilla extract
- 1 teaspoon almond extract (optional, for cherry filling)
- 4 cups (about 20-24 ounces) fresh or frozen pitted cherries (if using frozen, do not thaw)
- 2 tablespoons cornstarch
- 1 tablespoon fresh lemon juice
- ½ teaspoon lemon zest (optional, for the crust)
Instructions
- Preheat your oven to 375°F (190°C). Line a 9×13-inch baking pan with parchment paper, leaving an overhang on the sides to easily lift the bars out later.
- Prepare the Buttery Crust & Crumble Topping: In a large mixing bowl, whisk together the 3 cups all-purpose flour, 1 cup granulated sugar, and ½ teaspoon salt. If using, add ½ teaspoon lemon zest to the dry ingredients for an extra bright flavor.
- Add the very cold, cubed unsalted butter to the dry ingredients. Using a pastry blender, your fingertips, or a food processor (pulsing), cut the butter into the flour mixture until it resembles coarse crumbs with some pea-sized pieces of butter remaining. This step is crucial for a tender, flaky crust and crumbly topping.
- Stir in the 1 teaspoon vanilla extract. The mixture will still be crumbly.
- Reserve 1 ½ cups of this crumb mixture in a separate bowl. This will be your crumble topping.
- Press the remaining crumb mixture evenly into the bottom of the prepared 9×13-inch baking pan. Use the back of a spoon or your hands to firmly press it down, creating a compact base for your bars. Bake this crust for 15 minutes, or until lightly golden brown.
- While the crust is pre-baking, prepare the cherry filling. In a medium bowl, combine the 4 cups pitted cherries (fresh or frozen), ½ cup granulated sugar, 2 tablespoons cornstarch, and 1 tablespoon fresh lemon juice. If using, stir in ½ teaspoon almond extract for an enhanced cherry flavor. Toss gently until the cherries are evenly coated.
- Once the crust has pre-baked, carefully remove it from the oven. Evenly spread the cherry filling over the warm, partially baked crust.
- Take the reserved 1 ½ cups of crumb mixture and sprinkle it evenly over the cherry filling.
- Return the pan to the oven and bake for an additional 40-50 minutes, or until the crumble topping is golden brown and the cherry filling is visibly bubbly around the edges. If the topping starts to get too dark, you can loosely tent it with aluminum foil during the last 10-15 minutes of baking.
- Once baked, remove the pan from the oven and place it on a wire rack to cool completely. This step is incredibly important! Allowing the bars to cool completely (at least 2-3 hours, or even better, chilling them in the refrigerator for an hour) ensures the filling sets properly and allows for clean, neat slices.
- Once cooled, use the parchment paper overhang to lift the entire slab of bars out of the pan. Place on a cutting board and cut into 18-24 squares or rectangles using a sharp knife. Clean the knife between cuts for the neatest edges.
- Serve plain, or with a scoop of vanilla ice cream or a dollop of whipped cream. Enjoy your delicious Cherry Crumble Bars!
Cooking Tips and Variations
To achieve the best texture for your Cherry Crumble Bars, always start with very cold butter for both the crust and the crumble. This prevents the butter from melting too quickly and creates those delightful pockets of flakiness and tenderness. Avoid overmixing the dough once the butter is incorporated; a light hand ensures a tender crumb rather than a tough one. The most crucial tip for perfectly structured bars is to cool them completely before cutting. This allows the cherry filling to set properly and the crust to firm up, resulting in clean, defined slices that hold their shape beautifully.
For enhanced flavor, a small amount of almond extract in the cherry filling works wonders, complementing the natural cherry taste without overpowering it. A pinch of cinnamon or nutmeg can also be added to the crumble topping for a warm, subtly spiced note. Don’t underestimate the power of lemon zest in the crust; it adds a bright, fresh counterpoint to the richness of the butter. Feel free to experiment with other fruits for delicious variations: blueberries, peaches, apples, or a mix of berries all work wonderfully in this recipe. Just be sure to adjust the sugar and thickener slightly based on the sweetness and juiciness of your chosen fruit.
For those with dietary restrictions, gluten-free all-purpose flour blends can be substituted for regular flour in a 1:1 ratio, though results may vary slightly. To add more texture and a nutty flavor to the crumble, incorporate ½ cup of rolled oats into the reserved crumble mixture before sprinkling it over the filling. If you desire an extra touch of sweetness and elegance, prepare a simple glaze by whisking powdered sugar with a little milk or lemon juice and drizzle it over the cooled bars. This adds a lovely finish and an additional layer of flavor. These bars are incredibly forgiving and adaptable, so don’t hesitate to get creative with your additions and substitutions!
Storage and Reheating
Cherry Crumble Bars are wonderfully versatile when it comes to storage, making them a perfect make-ahead dessert. At room temperature, they will stay fresh for up to 2-3 days. Simply store them in an airtight container on your counter. For longer freshness, especially if your kitchen is warm, or if you prefer a firmer texture, refrigerate the bars in an airtight container for up to 5 days. The cold helps the filling set even more, making them even easier to handle and enjoy.
These bars also freeze beautifully, making them ideal for meal prepping or having a treat on hand. Once completely cooled, cut the bars into individual portions. Wrap each bar tightly in plastic wrap, then place them in a freezer-safe bag or container. They can be frozen for up to 3 months. When you’re ready to enjoy, simply thaw them at room temperature for a few hours or overnight in the refrigerator. You can also gently warm them in a microwave for 15-30 seconds or in a preheated oven at 300°F (150°C) for about 10 minutes to bring back that freshly baked warmth, though they are equally delicious cold.
Frequently Asked Questions
Can I use frozen cherries for this recipe?
Absolutely! Frozen pitted cherries work perfectly for Cherry Crumble Bars. There’s no need to thaw them before adding them to the filling mixture; just toss them with the sugar, cornstarch, and lemon juice while still frozen. They will release their juices and cook down beautifully during baking, just like fresh cherries.
Why did my cherry filling turn out runny?
A runny filling is usually due to not enough thickener or not letting the bars cool completely. Ensure you use the specified amount of cornstarch or flour in the filling. Most importantly, allow the bars to cool for at least 2-3 hours, or even chill them in the refrigerator. The filling continues to set and thicken as it cools, so cutting them too soon will result in a messy, runny center.
Can I make these bars ahead of time for a party?
Yes, Cherry Crumble Bars are an excellent make-ahead dessert! You can bake them a day or two in advance and store them at room temperature in an airtight container. If you want to prepare them even further ahead, you can freeze the baked and cooled bars for up to 3 months. Just thaw and serve when ready.
What’s the best way to cut clean slices?
The key to clean slices is patience and a sharp knife. Ensure the bars are completely cooled, ideally chilled for an hour in the refrigerator. Use a long, sharp knife and wipe the blade clean with a damp cloth after each cut to prevent sticking and maintain neat edges. Lifting the entire slab out of the pan using the parchment paper overhang before cutting also helps.