Introduction
There’s something undeniably magical about homemade ice cream. The creamy texture, the burst of fresh flavor, and the sheer satisfaction of creating a decadent treat right in your own kitchen. But let’s be honest, the thought of churning, ice baths, and specialized equipment can often deter even the most enthusiastic home cooks. That’s where our “Easy Homemade Ice Cream – Rich” recipe comes in! This isn’t just any ice cream; it’s a luscious, no-churn sensation that delivers on its promise of incredible richness and a stunning vanilla and chocolate swirl, all without the need for an ice cream maker. Prepare to impress yourself and everyone you share it with, because this recipe proves that extraordinary indulgence can truly be effortless.
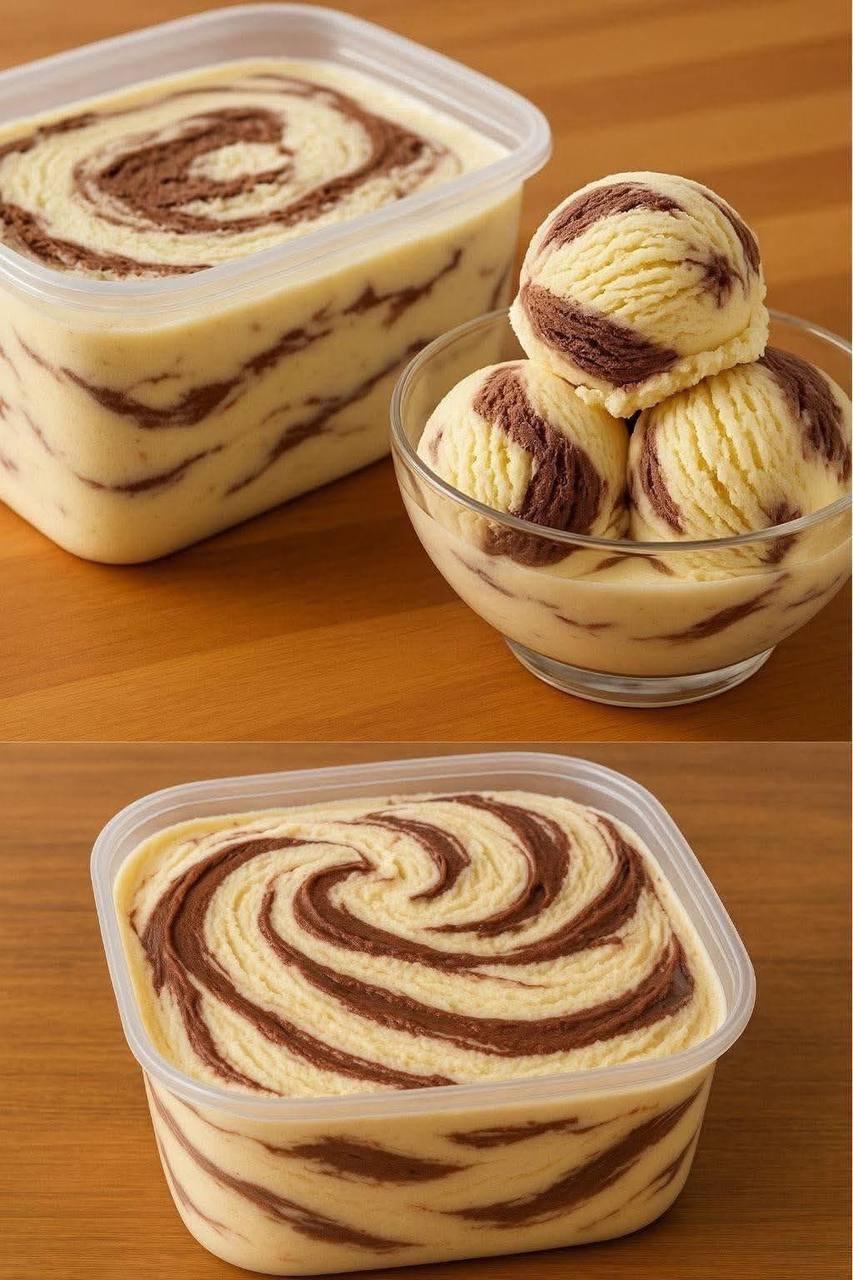
What makes this particular recipe so special? Beyond its incredible ease, it’s the perfect harmony of simple ingredients transformed into a velvety, smooth dessert. The secret lies in the clever combination of whipped heavy cream and sweetened condensed milk, which together create a base that’s naturally rich and resists ice crystals, giving you that desirable commercial-quality texture. The addition of a vibrant chocolate swirl not only elevates the flavor profile but also creates a beautiful marbled effect, making each scoop a work of art. Whether you’re a seasoned baker or a complete novice in the kitchen, this recipe is designed for success, promising a delightful treat that tastes like it took hours, but only requires a few minutes of active prep time.
Imagine a hot summer day, a cozy movie night, or simply a craving for something sweet – this easy homemade ice cream is your go-to solution. It’s wonderfully customizable, serving as a fantastic base for all sorts of mix-ins and toppings, but it truly shines on its own. The contrast between the sweet, classic vanilla and the deep, slightly bitter notes of chocolate in every swirl is absolutely divine. Get ready to ditch the store-bought tubs and embrace the joy of crafting your very own “Easy Homemade Ice Cream – Rich,” a dessert that’s as delightful to make as it is to devour.
Nutritional Information
Per serving (approximate values):
- Calories: 380-450
- Protein: 5-7g
- Carbohydrates: 35-45g
- Fat: 25-35g
- Fiber: 1-2g
- Sodium: 80-120mg
Ingredients
- 2 cups (480ml) cold heavy cream (or whipping cream), minimum 36% fat
- 1 (14-ounce / 397g) can sweetened condensed milk, chilled
- 1 tablespoon pure vanilla extract
- Pinch of fine sea salt
- 1/4 cup (24g) unsweetened cocoa powder
- 1/4 cup (30g) powdered sugar (confectioners’ sugar)
- 2 tablespoons milk (any kind, whole milk recommended for richness)
- 1/2 teaspoon vanilla extract (optional, for chocolate swirl)
Instructions
- Prepare the Chocolate Swirl: In a small bowl, whisk together the unsweetened cocoa powder, powdered sugar, 2 tablespoons of milk, and the optional 1/2 teaspoon of vanilla extract until completely smooth and free of lumps. The mixture should be thick but pourable. If it’s too thick, add another teaspoon of milk at a time until it reaches the desired consistency. Set aside.
- Whip the Cream: In a large, chilled mixing bowl, pour the cold heavy cream. Using an electric mixer (either handheld or stand mixer with the whisk attachment), beat the cream on medium-high speed until stiff peaks form. This means that when you lift the beaters, the peaks of cream stand up firmly and hold their shape. Be careful not to overmix, as it can turn grainy or separate.
- Combine Base Ingredients: Gently pour the chilled sweetened condensed milk, 1 tablespoon of pure vanilla extract, and the pinch of salt into the whipped cream. Using a rubber spatula, carefully fold these ingredients into the whipped cream until they are just combined. Work slowly and gently to maintain as much air as possible in the whipped cream. Do not overmix, as this will deflate the cream and result in a less airy ice cream.
- Layer and Swirl: Get your airtight freezer-safe container ready (an 8×4 inch loaf pan or a similar size plastic container works perfectly). Pour approximately half of the vanilla ice cream base into the bottom of the container, spreading it gently to form an even layer.
- Spoon about half of the prepared chocolate mixture in small dollops over the vanilla base.
- Carefully pour the remaining vanilla ice cream base over the chocolate dollops, spreading it gently to cover.
- Spoon the remaining chocolate mixture in dollops on top of the second layer of vanilla base.
- Using a butter knife, skewer, or a chopstick, gently swirl the chocolate through the vanilla base. Move the utensil in a figure-eight or zig-zag pattern, making sure to reach the bottom layers without overmixing. The goal is to create beautiful marbled streaks, not to fully combine the colors. Stop swirling once you achieve a visually appealing pattern.
- Freeze: Cover the container tightly with its lid or a layer of plastic wrap, pressing it directly onto the surface of the ice cream to prevent ice crystals from forming. Place the container in the coldest part of your freezer and freeze for at least 6 hours, or preferably overnight, until thoroughly firm.
- Serve: When ready to serve, remove the ice cream from the freezer and let it sit at room temperature for 5-10 minutes. This allows it to soften slightly, making it much easier to scoop and giving it the perfect creamy texture. Scoop and enjoy!
Cooking Tips and Variations
For the absolute best results with your easy homemade ice cream, always ensure your heavy cream is very cold before whipping. This is crucial for achieving stiff peaks and a stable, airy base. You can even chill your mixing bowl and whisk attachment for 10-15 minutes in the freezer before you start whipping; cold equipment aids significantly in whipping cream more effectively. When folding in the sweetened condensed milk, remember the mantra: “gently, gently, gently.” Overmixing is the enemy of light, airy no-churn ice cream, as it deflates the whipped cream and can lead to a denser, less pleasant texture. Quality ingredients truly make a difference here; opt for pure vanilla extract over imitation for a richer, more authentic vanilla flavor, and a good quality unsweetened cocoa powder will give your swirl a deeper, more satisfying chocolate taste.
To prevent freezer burn, which can make your ice cream icy and dull its flavor, always store it in an airtight container. If your container doesn’t have a tight-fitting lid, press a layer of plastic wrap directly onto the surface of the ice cream before covering it. This acts as an extra barrier against air and moisture. For serving, don’t rush it straight from the freezer; letting it sit out for 5-10 minutes allows the ice cream to soften just enough to be perfectly scoopable and highlights its creamy texture. If you want to get creative, this recipe is incredibly versatile! Try adding a teaspoon of instant espresso powder to your chocolate swirl for a mocha twist, or swap out the chocolate for a homemade berry compote or a caramel sauce for different swirl flavors. You can also fold in crushed cookies, chopped nuts, mini chocolate chips, or even a splash of peppermint extract into the vanilla base for endless flavor combinations. The beauty of this easy recipe is its adaptability!
Storage and Reheating
Storing your Easy Homemade Ice Cream – Rich properly is essential to maintain its creamy texture and prevent freezer burn. Once the ice cream is fully frozen, ensure it is in an airtight freezer-safe container. If your container does not have a snug lid, place a layer of plastic wrap directly on the surface of the ice cream before sealing the container. This creates an extra barrier against air, which is the main cause of ice crystal formation and freezer burn. Store the ice cream in the coldest part of your freezer, typically towards the back, where temperatures are most consistent. When stored correctly, this homemade ice cream will maintain its quality for up to 2-3 weeks. Beyond that, while still safe to eat, its texture might start to degrade slightly.
As for “reheating,” ice cream isn’t typically reheated in the traditional sense. However, getting it to the perfect serving consistency is important. When you’re ready to enjoy a scoop, remove the container from the freezer and let it sit at room temperature for 5 to 10 minutes. This brief resting period allows the ice cream to soften just enough, making it easier to scoop and enhancing its rich, creamy texture. If you’re in a hurry, you can occasionally microwave a single serving for 10-15 seconds on low power, but be very careful not to melt it completely. It’s generally best to allow it to temper naturally at room temperature for the optimal experience.
Frequently Asked Questions
Why is my homemade ice cream icy instead of creamy?
The most common reasons for icy homemade ice cream, especially with a no-churn recipe, are usually related to either not whipping the heavy cream to stiff peaks or over-mixing the base once the condensed milk is added. If the cream isn’t properly whipped, there isn’t enough air incorporated, leading to a denser, icier texture. Conversely, over-folding after adding the condensed milk can deflate the whipped cream, again resulting in a loss of air and more ice crystals. Ensure your cream is very cold when whipping, and fold gently to preserve the airy structure.
Can I make this recipe dairy-free or vegan?
While this specific recipe relies heavily on dairy for its rich, creamy texture, you can explore dairy-free alternatives. You would need to substitute the heavy cream with a full-fat coconut cream (chilled overnight and only using the thick cream from the top) and the sweetened condensed milk with a sweetened condensed coconut milk. The texture might vary slightly, often being a bit denser or having a subtle coconut flavor, but it can still yield a delicious frozen treat. Ensure all other ingredients like cocoa powder and milk for the swirl are also dairy-free.
How can I prevent the chocolate swirl from just mixing into the vanilla base?
The key to a beautiful, distinct swirl is gentle handling and not over-swirling. After spooning the chocolate dollops onto the vanilla base, use a knife, skewer, or chopstick to make just a few passes through the layers. Aim for a figure-eight or zig-zag motion, making sure to reach the bottom layer, but stop as soon as you see a marbled pattern forming. If you continue to swirl, the colors will eventually blend and become muddy. It also helps if your chocolate swirl mixture is thick enough to hold its shape somewhat, rather than being too runny.