Introduction
Forget everything you thought you knew about cooking sweet potatoes! If you’ve been relegating this vibrant, nutritious vegetable to long oven roasts or boiling pots, prepare for a culinary revolution. Microwave sweet potatoes are the ultimate game-changer for anyone seeking a delicious, healthy meal or side dish without the fuss and wait. This isn’t just a quick fix; it’s a smart cooking method that delivers perfectly tender, naturally sweet results in a fraction of the time, making it an instant favorite for busy weeknights, quick lunches, or even as a base for more elaborate meals.
This article will unlock the secrets to mastering the microwave sweet potato, transforming it from a mere afterthought into a star player in your kitchen. We’ll guide you through each step, from selecting the perfect spud to the simple piercing technique that prevents culinary mishaps. Beyond the basics, we’ll explore a bounty of flavor enhancements, from classic buttery sweetness to adventurous savory toppings, proving just how versatile this humble root vegetable can be. Get ready to discover the unparalleled convenience, incredible nutritional benefits, and delicious possibilities that await with your perfectly microwaved sweet potato.
Why choose the microwave? For starters, it’s about speed and efficiency. What takes 45-60 minutes in a conventional oven can be achieved in 5-7 minutes with a microwave, drastically cutting down on cooking time and energy consumption. It’s also incredibly easy, requiring minimal cleanup and hands-on effort. But perhaps most importantly, microwaving preserves the sweet potato’s natural moisture and nutrients, yielding a fluffy, tender interior that rivals its oven-baked counterpart. Say goodbye to dry, chewy results and hello to a perfectly cooked sweet potato every single time.
Nutritional Information
Per serving (approximate values for one medium sweet potato, about 150g, cooked plain):
- Calories: 130 kcal
- Protein: 2g
- Carbohydrates: 30g
- Fat: 0.2g
- Fiber: 4g
- Sodium: 40mg
Ingredients
- 1 medium sweet potato (approx. 6-8 oz)
- Optional: A damp paper towel
- Optional toppings: Butter, cinnamon, brown sugar, maple syrup, salt, pepper, chives, sour cream, cheese
Instructions
- Choose Your Sweet Potato: Select a firm, unblemished sweet potato. Medium-sized potatoes (about 6-8 ounces) are ideal for even cooking in the microwave. Avoid excessively large or oddly shaped potatoes, which can cook unevenly.
- Wash and Scrub: Thoroughly wash the sweet potato under cool running water. Use a vegetable brush to scrub off any dirt or debris from the skin. Pat it dry with a clean cloth or paper towel.
- Pierce the Potato: This is a crucial step! Using a fork, pierce the sweet potato 4-6 times all over its surface. Make sure to penetrate deep enough to create vents for steam to escape. This prevents the potato from building up pressure and potentially exploding in the microwave.
- Prepare for Microwaving: Place the pierced sweet potato directly on a microwave-safe plate. For extra moisture retention, you can loosely wrap the sweet potato in a damp paper towel before placing it on the plate (this step is optional but recommended for a creamier texture).
- Microwave the Potato: Place the plate with the sweet potato into the microwave. For a medium sweet potato (6-8 oz) in a 1000-watt microwave, start with 5 minutes of cooking time.
- Check for Doneness: After 5 minutes, carefully remove the plate from the microwave (it will be hot). Use a fork to test the potato for doneness. It should be fork-tender, meaning the fork slides easily into the center of the potato with little resistance.
- Continue Cooking if Needed: If the potato feels firm in the center, return it to the microwave and cook for additional 1-2 minute increments, checking for doneness after each interval. Larger potatoes or lower-wattage microwaves will require more time.
- Rest the Potato: Once fork-tender, remove the sweet potato from the microwave and let it rest on the plate for 2-5 minutes. This resting period is essential as it allows the internal heat to redistribute evenly, resulting in a uniformly cooked and perfectly tender potato while preventing “hot spots.”
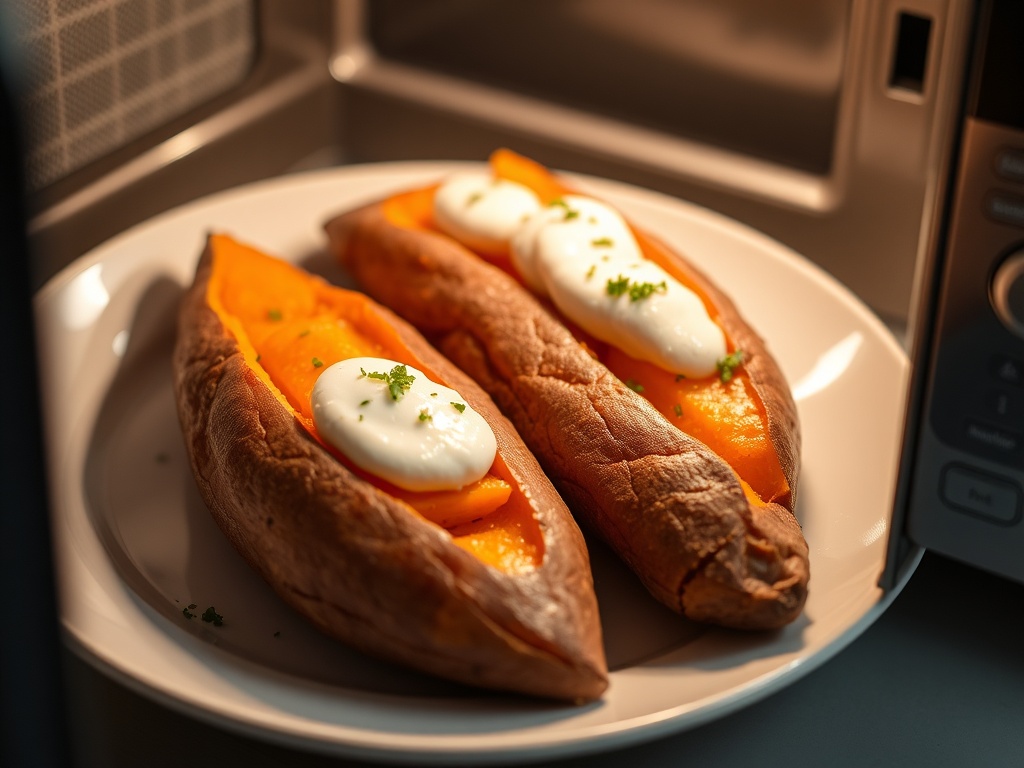
- Serve and Enjoy: Carefully slice the sweet potato lengthwise down the middle. Fluff the flesh with a fork and add your desired toppings. Be cautious of steam when opening the potato.
Cooking Tips and Variations
To ensure the best possible results every time you microwave a sweet potato, consider these expert tips and explore exciting variations to elevate your meal.
Don’t Overcrowd: While it’s tempting to cook multiple sweet potatoes at once, for the most even and consistent results, it’s best to cook one or two medium-sized potatoes at a time. Overcrowding can lead to uneven cooking, with some potatoes being undercooked and others overdone.
Adjust for Your Microwave’s Wattage: Microwave power can vary significantly. If your microwave has a lower wattage (e.g., 700-800 watts), you’ll likely need to increase the cooking time. Start with the recommended time and add 1-minute increments until the sweet potato is fork-tender. Conversely, a higher-wattage microwave might cook faster.
The Damp Paper Towel Trick: For a supremely moist and fluffy interior, always loosely wrap your pierced sweet potato in a damp paper towel before microwaving. This creates a steamy environment that helps retain moisture, preventing dry or rubbery spots.
Don’t Skip the Resting Time: The 2-5 minute resting period after microwaving is crucial. During this time, the residual heat continues to cook the potato from the inside out, allowing the internal temperature to equalize. This results in a more evenly cooked and tender texture throughout.
Cut for Speed: If you’re in an extreme hurry and don’t mind sacrificing the “whole baked potato” aesthetic, you can cut the sweet potato into smaller chunks or slices before microwaving. This significantly reduces cooking time, making it perfect for quick mashes or additions to other dishes.
Flavor Infusion: For a subtle aromatic boost, you can place a bay leaf or a small sprig of rosemary or thyme directly on the plate with the sweet potato while it microwaves. The heat will release the essential oils, lightly perfuming the potato.
Salt the Skin (Optional): While microwaving won’t give you the crispy skin of an oven-baked potato, rubbing a tiny bit of olive oil and a pinch of salt on the skin before microwaving can enhance its flavor, especially if you plan to eat the skin (which is highly nutritious!).
Sweet Topping Variations: Beyond the classic butter, brown sugar, and cinnamon, experiment with a drizzle of maple syrup or honey, a sprinkle of toasted pecans or walnuts, a dollop of yogurt with a touch of vanilla extract, or even a few mini marshmallows for a decadent treat.
Savory Topping Variations: Transform your sweet potato into a full meal. Consider toppings like a spoonful of chili, black beans and corn salsa, crumbled feta or goat cheese with fresh herbs (chives, cilantro), a sprinkle of nutritional yeast for a cheesy flavor, or even leftover pulled chicken or pork for a hearty, quick dinner.
Sweet & Spicy Combo: For a delightful contrast, try a drizzle of hot honey, a pinch of chili flakes, or a sprinkle of smoked paprika along with your sweet toppings. The unexpected kick perfectly complements the natural sweetness.
Meal Prep Hack: Cook several sweet potatoes in advance using the microwave method. Once cooled, store them in the refrigerator. They can be quickly reheated in the microwave for instant healthy meals throughout the week, saving you valuable time.
Don’t Peel Raw: It’s generally not recommended to peel a sweet potato before microwaving. The skin helps hold the potato together and contributes to moisture retention. It’s much easier to peel a cooked sweet potato, or better yet, enjoy the skin for its added fiber and nutrients!
Storage and Reheating
Proper storage and reheating ensure your microwaved sweet potatoes remain delicious and ready for your next meal.
Storage:
- Cool Completely: Before storing, allow the cooked sweet potato to cool completely to room temperature. This prevents condensation from building up inside the storage container, which can lead to sogginess or spoilage.
- Airtight Container: Place the cooled sweet potato in an airtight container or wrap it tightly in plastic wrap or aluminum foil.
- Refrigerate: Store the sweet potato in the refrigerator for up to 3-5 days.
- Freezing (Optional): For longer storage, you can freeze cooked sweet potatoes. Once cooled, wrap them individually in plastic wrap, then place them in a freezer-safe bag or container. They can be frozen for up to 6-8 months, though the texture might be slightly softer upon thawing.
Reheating:
- Microwave: This is the quickest and easiest method. Place the sweet potato on a microwave-safe plate. If it seems a bit dry, you can sprinkle a tablespoon of water over it or loosely cover it with a damp paper towel. Reheat on high for 1-2 minutes, or until heated through. Flip halfway if reheating a whole potato.
- Oven: For a slightly crispier skin (if you plan to eat it), you can reheat sweet potatoes in a preheated oven at 350°F (175°C) for 15-20 minutes, or until warmed through. This method is best if you have a few to reheat.
- Air Fryer: An air fryer can also be used for reheating, providing a nice exterior. Place the sweet potato in the air fryer basket and cook at 350°F (175°C) for 8-12 minutes, checking periodically.
Frequently Asked Questions
Can I microwave more than one sweet potato at a time?
Yes, you can microwave more than one sweet potato, but you’ll need to adjust the cooking time. For two medium sweet potatoes, start with 8-10 minutes and then add 1-2 minute increments until both are fork-tender. Make sure they are not touching and are arranged in a way that allows the microwave energy to distribute somewhat evenly. Flipping them halfway through cooking can also help.
How do I know if my sweet potato is perfectly cooked in the microwave?
A perfectly cooked sweet potato will be fork-tender throughout. When you insert a fork into the thickest part of the potato, it should slide in easily with no resistance. The skin might feel slightly soft and pliable. If you encounter any hard spots, it needs more cooking time.
Will microwaving affect the nutritional value of sweet potatoes?
Microwaving is actually an excellent method for preserving nutrients in sweet potatoes. Because it uses less water and shorter cooking times compared to boiling, it helps retain water-soluble vitamins like Vitamin C and B vitamins. The high levels of Vitamin A (beta-carotene) are generally stable across various cooking methods, including microwaving.
Can I peel a sweet potato before microwaving it?
While you technically can, it’s generally not recommended to peel a sweet potato before microwaving. The skin helps to hold the potato’s shape and retain moisture, contributing to a better texture. Peeling beforehand can lead to a mushier, less appealing result. It’s much easier to peel the sweet potato after it’s cooked, or simply enjoy the skin, which is packed with beneficial fiber and nutrients.