Instructions
- Activate the Yeast: In a large, heavy-duty gallon-sized zipper-top plastic bag, combine the warm water and granulated sugar. Sprinkle the active dry yeast over the top. Gently swish the bag to mix, then let it sit for 5-10 minutes. The mixture should become foamy and bubbly, indicating the yeast is active. If it doesn’t foam, your water might have been too hot or too cold, or your yeast may be old. Start over with fresh yeast.
- Add Wet Ingredients: Once the yeast is active, add the salt and vegetable oil to the bag. Seal the bag and gently mix by squishing the bag to combine these ingredients thoroughly.
- Add Dry Ingredients: Open the bag and add 3 cups of the all-purpose flour. Seal the bag, pressing out as much air as possible. Now, using your hands, squish and massage the bag from the outside, mixing the flour into the wet ingredients. Continue until no dry streaks of flour remain and a shaggy dough forms.
- Initial “Kneading” in the Bag: Add the remaining ½ cup of flour, a quarter cup at a time, continuing to mix in the bag after each addition. You may not need all 4 cups of flour; the dough should be soft, slightly sticky, but mostly come together into a ball. Avoid adding too much flour, as this will make your bread dry. Continue to “knead” the dough by squishing and folding it within the bag for about 5 minutes. This helps develop the gluten.
- First Rise (Bulk Fermentation): Once the dough is well-mixed and somewhat smooth, lightly grease the inside of the bag with a tiny bit of vegetable oil (you can spray it or rub it with a paper towel). Place the dough back in the bag, seal it (leaving a little room for expansion), and place it in a warm, draft-free spot. Let the dough rise for 1 to 1 ½ hours, or until it has roughly doubled in size.
- Prepare Loaf Pans: While the dough is rising, grease two 8.5 x 4.5-inch loaf pans (or one 9×5-inch loaf pan) with cooking spray or butter.
- Punch Down and Shape: Once the dough has doubled, gently punch it down through the bag to release the air. Turn the dough out onto a lightly floured surface. If making two smaller loaves, divide the dough in half. For each half (or the whole dough if making one loaf), gently flatten it into a rectangle. Roll the dough tightly from one of the longer sides, pinching the seam closed. Tuck the ends under to form a neat loaf shape.
- Second Rise (Proofing): Place the shaped dough seam-side down into the prepared loaf pan(s). Cover the pan(s) loosely with plastic wrap or a clean kitchen towel. Let the dough rise again in a warm spot for another 30-45 minutes, or until it has nearly doubled in size and looks puffy.
- Preheat Oven & Bake: Towards the end of the second rise, preheat your oven to 375°F (190°C). Once the oven is preheated and the dough has risen, carefully place the loaf pan(s) in the oven.
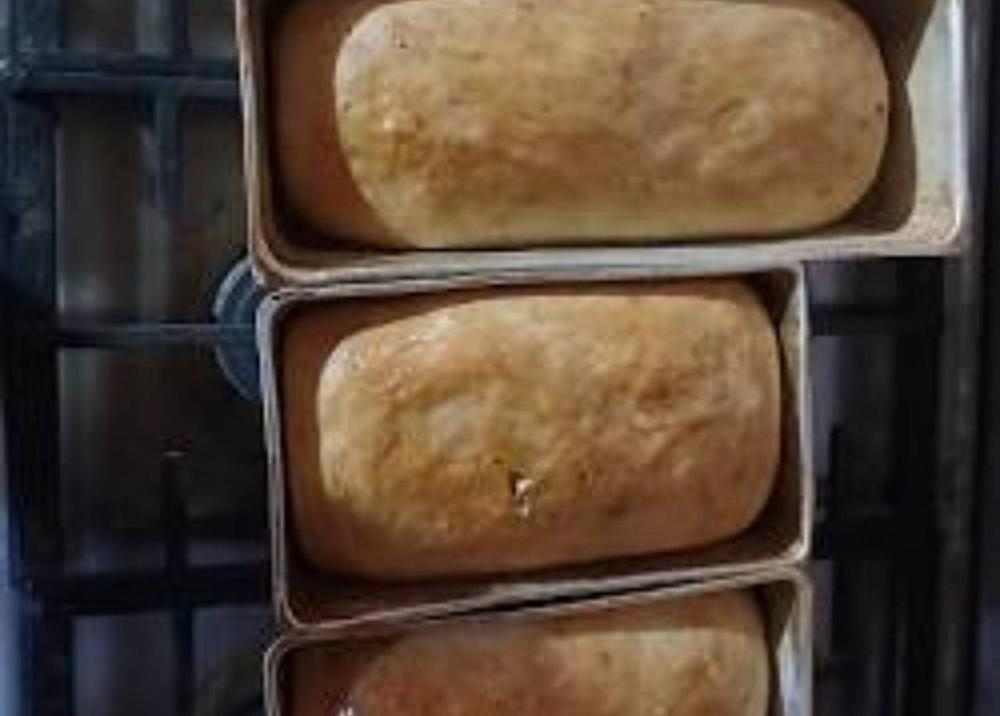
- Baking: Bake for 30-35 minutes for smaller loaves, or 35-45 minutes for a single larger loaf, or until the crust is a deep golden brown and the internal temperature reaches 200-210°F (93-99°C). If you tap the bottom of the loaf, it should sound hollow. If the crust is browning too quickly, you can loosely tent it with aluminum foil.
- Cooling: Once baked, immediately remove the loaves from their pans and place them on a wire rack to cool completely. Slicing warm bread can make it gummy, so patience is key!
Cooking Tips and Variations
To ensure your Bread in a Bag experience is always a success, pay close attention to a few key details. First, the right bag is crucial: always opt for a heavy-duty, gallon-sized, zipper-top plastic bag. Flimsy bags can tear under the stress of mixing, leading to a floury mess! For yeast activation, water temperature matters immensely; it should feel like a warm bath (105-115°F or 40-46°C). Too hot will kill the yeast, too cold won’t activate it. When adding flour, don’t over-flour. The dough should be soft and slightly sticky, not stiff. The bag method helps maintain moisture, so err on the side of less flour if unsure. Visual cues for rising are important: the dough should look visibly puffy and roughly doubled in size. If your kitchen is cool, you can create a warm environment by placing the covered dough in an oven that’s been briefly warmed and then turned off. Always remember to grease your loaf pans thoroughly to prevent sticking, and cool your baked bread completely on a wire rack to prevent a soggy bottom and allow the interior to set properly.
Now for the fun part: variations! This basic “Bread in a Bag” recipe is a fantastic canvas for creativity. For an aromatic Herb Bread, simply add 1-2 tablespoons of dried herbs like rosemary, thyme, or oregano, along with a teaspoon of garlic powder, when you add the salt and oil. For a savory Cheese Bread, fold in ½ to ¾ cup of shredded cheddar, Parmesan, or a blend of cheeses during the shaping stage before the second rise. Imagine that cheesy goodness melting into every slice! If you’re craving something sweet, transform it into a Sweet Bread by adding an extra tablespoon of sugar to the dough and, during shaping, spread a mixture of melted butter, cinnamon, and brown sugar over the flattened dough before rolling it up. You can also fold in ½ cup of dried fruit like raisins or cranberries. For a Whole Wheat Option, substitute up to 1 ½ cups of the all-purpose flour with whole wheat flour. You might need to add an extra tablespoon or two of water or milk to account for whole wheat flour’s higher absorption rate, so adjust the liquid until the dough feels soft and cohesive. The possibilities are endless, allowing you to customize your homemade bread to suit any craving!
Storage and Reheating
Once your delicious “Bread in a Bag” loaf has cooled completely, it’s ready for storage. For best results, store homemade bread at room temperature in an airtight container, a bread box, or a tightly sealed plastic bag. This will keep it fresh and soft for 3-4 days. Avoid refrigerating bread, as this can actually make it stale faster. If you won’t be finishing the loaf within a few days, it freezes beautifully! Slice the cooled bread, then place the slices in a freezer-safe bag or wrap the whole loaf tightly in plastic wrap and then foil. It can be frozen for up to 3 months. To reheat from frozen, individual slices can be popped directly into a toaster. A whole frozen loaf can be wrapped in foil and reheated in a 300°F (150°C) oven for about 20-30 minutes, or until warmed through.
Frequently Asked Questions
What kind of plastic bag should I use for “Bread in a Bag”?
Always use a heavy-duty, gallon-sized zipper-top plastic bag. Flimsy bags can tear during the mixing and squishing process, leading to a messy kitchen. Make sure it’s food-safe and durable.
My yeast didn’t foam. What went wrong?
If your yeast didn’t foam, it’s likely due to the water temperature being too hot (killing the yeast) or too cold (preventing activation). It could also mean your yeast is old or expired. Discard the mixture and start over with fresh yeast and water within the recommended temperature range (105-115°F / 40-46°C).
Can I make this bread without a stand mixer or a lot of kneading?
Absolutely! That’s the beauty of “Bread in a Bag.” The squishing and massaging action within the bag provides enough “kneading” to develop the gluten for a soft, tender loaf without the need for a stand mixer or extensive traditional hand-kneading.
How do I know when the bread is fully baked?
The bread is fully baked when the crust is a deep golden brown, and if you tap the bottom of the loaf, it should sound hollow. For ultimate accuracy, an internal temperature thermometer should read between 200-210°F (93-99°C) in the center of the loaf.