Instructions
- In a medium-sized heavy-bottomed saucepan, whisk together the 1/2 cup granulated sugar and 1/4 cup cornstarch. This step is crucial for preventing lumps, as it evenly disperses the cornstarch before it hits the liquid.
- Gradually pour in about 1/2 cup of the whole milk into the sugar and cornstarch mixture, whisking continuously until a smooth slurry forms and there are no lumps. This initial small amount of cold milk helps to fully dissolve the cornstarch.
- Once the slurry is smooth, gradually whisk in the remaining 3 1/2 cups of whole milk into the saucepan. Ensure everything is well combined. If using a pinch of salt, add it now.
- Place the saucepan over medium heat. Cook, whisking constantly, especially scraping the bottom and sides of the pan, until the mixture begins to thicken and comes to a gentle boil. This typically takes about 8-12 minutes. Be patient and do not stop whisking to prevent scorching and lumps.
- Once the mixture boils, continue to cook and whisk for another 1-2 minutes. This ensures that the cornstarch is fully cooked and the pudding reaches its maximum thickening potential. The pudding should be thick enough to coat the back of a spoon.
- Remove the saucepan from the heat. Stir in the 1 teaspoon of pure vanilla extract. If you are using the optional unsalted butter for extra richness, add it now and stir until it is fully melted and incorporated into the pudding.
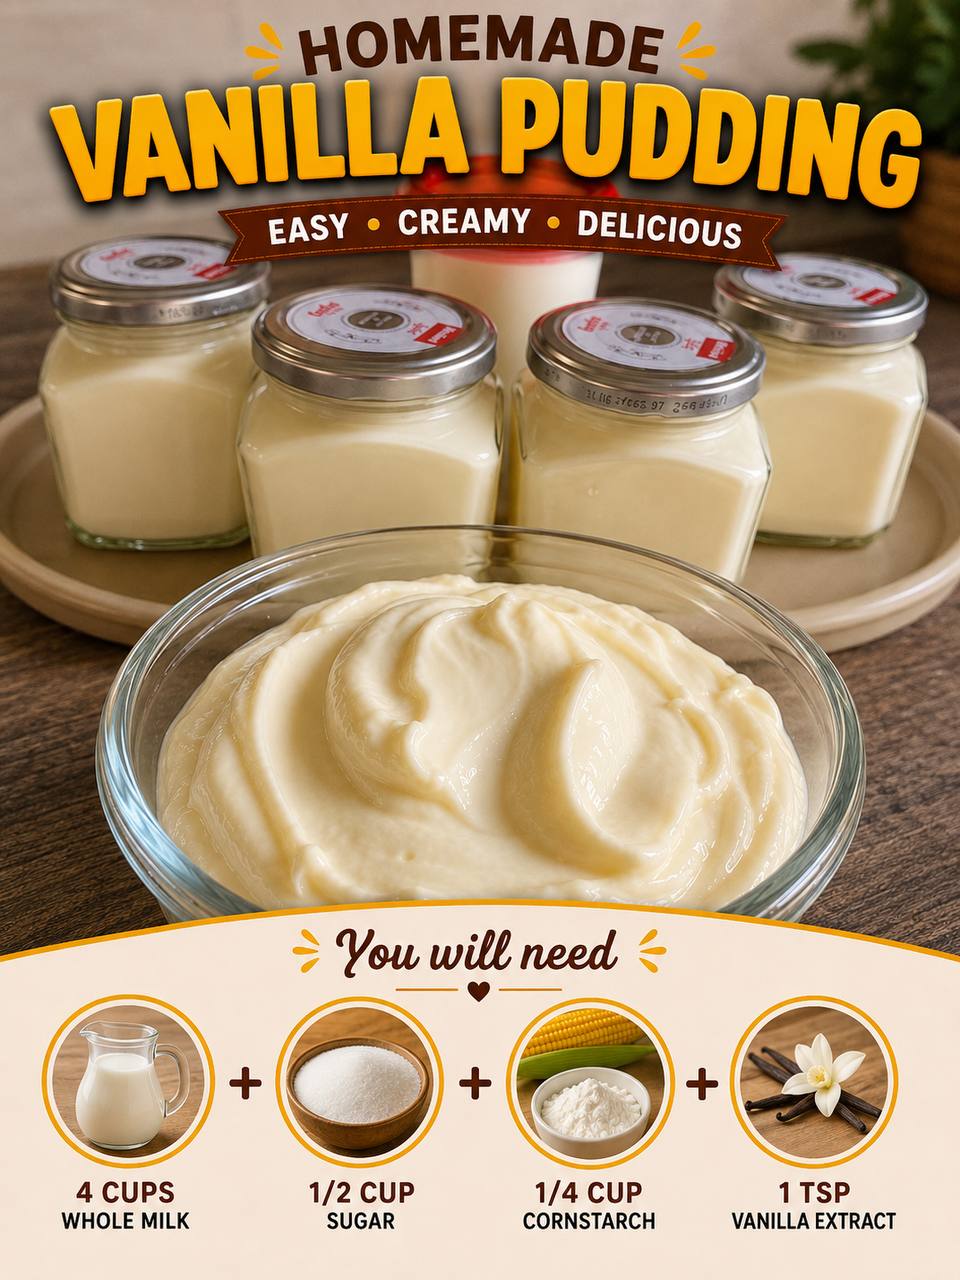
- Carefully pour the hot pudding into individual serving dishes, ramekins, or a large serving bowl.
- To prevent a “skin” from forming on top of the pudding as it cools, press a piece of plastic wrap directly onto the surface of the pudding. Ensure there are no air bubbles between the plastic wrap and the pudding.
- Allow the pudding to cool at room temperature for about 30 minutes, then transfer it to the refrigerator to chill for at least 2-4 hours, or until thoroughly set and cold. The longer it chills, the firmer and more flavorful it will become.
- Serve chilled, optionally garnished with your favorite toppings.
Cooking Tips and Variations
For the smoothest pudding possible, ensure you whisk the cornstarch and sugar together thoroughly before adding any liquid. Then, gradually add a small amount of cold milk to create a lump-free slurry before incorporating the rest of the milk. This technique is key to preventing grainy or lumpy pudding. When cooking, use a heavy-bottomed saucepan to distribute heat more evenly and reduce the risk of scorching. Constant whisking, especially scraping the bottom and corners of the pan, is non-negotiable once the mixture starts to heat up and thicken. Don’t rush the boiling step; allow it to gently boil for a minute or two to ensure the cornstarch is fully activated and cooked out, preventing a starchy taste.
The quality of your ingredients truly shines in a simple recipe like this. Opt for whole milk for the richest, creamiest texture. While 1% or 2% milk can be used, the pudding will be less decadent. For vanilla, use pure vanilla extract, not imitation vanilla, for the best flavor. For an even more intense vanilla flavor, you can split a vanilla bean lengthwise, scrape out the seeds, and add both the seeds and the pod to the milk as it heats. Remove the pod before stirring in the vanilla extract at the end. A pinch of salt, though optional, really helps to balance the sweetness and enhance the overall flavor profile of the pudding.
This vanilla pudding is incredibly versatile and lends itself beautifully to various flavor variations. For a chocolate pudding, whisk in 1/4 cup unsweetened cocoa powder with the sugar and cornstarch at the beginning. You can also add a tablespoon of instant espresso powder to the chocolate version to deepen its flavor. For a lemon pudding, omit the vanilla extract and stir in 1-2 tablespoons of fresh lemon juice and 1 teaspoon of lemon zest after removing the pudding from the heat. Other extracts like almond, coconut, or peppermint can also be used to create different flavor profiles. For a richer, more indulgent pudding, you can stir in 2 tablespoons of unsalted butter at the very end, after removing the pudding from the heat, to add extra creaminess and gloss.
Don’t be afraid to experiment with toppings! Classic choices include a dollop of freshly whipped cream, fresh berries (strawberries, blueberries, raspberries), or sliced bananas. For a touch of crunch, consider a sprinkle of toasted nuts, granola, or crushed cookies. A drizzle of chocolate syrup or caramel sauce can elevate the experience. This pudding also makes an excellent base for parfaits, layered with granola, fruit, and whipped cream. It can even be used as a delicious filling for tarts, pies, or as a component in a trifle. The possibilities are endless once you master this basic, phenomenal recipe.
Storage and Reheating
Homemade vanilla pudding stores wonderfully in the refrigerator. Once completely cooled, ensure it is covered tightly with plastic wrap, pressing the plastic wrap directly onto the surface of the pudding. This prevents a skin from forming and keeps the pudding fresh. Store in an airtight container or in the individual serving dishes you used. The pudding will keep well in the refrigerator for up to 4-5 days. It is not recommended to freeze vanilla pudding as the texture can become grainy and separate upon thawing due to the cornstarch thickener.
Vanilla pudding is almost exclusively enjoyed chilled, as its texture and flavor are best when cold. Therefore, reheating is generally not recommended or necessary. If you prefer it slightly less cold, you can remove it from the refrigerator about 15-20 minutes before serving to allow it to come closer to room temperature. However, heating it in a microwave or on the stovetop can alter its delicate texture, potentially making it thinner or causing it to break, so it’s best to enjoy it as a cold dessert.
Frequently Asked Questions
Why did my pudding turn out lumpy?
Lumps in pudding usually occur if the cornstarch wasn’t thoroughly mixed with the sugar or if it was added directly to hot milk without first creating a smooth slurry with a small amount of cold milk. To prevent lumps, always whisk the dry ingredients together first, then gradually add a small amount of cold milk to form a paste before incorporating the rest of the milk and heating.
How can I prevent a skin from forming on top of my pudding?
To prevent a “skin” from forming on the surface of your pudding as it cools, immediately after pouring it into serving dishes, place a piece of plastic wrap directly onto the surface of the hot pudding, ensuring it touches the entire top layer. This creates an airtight seal that prevents evaporation and the formation of a skin.
Can I use a milk substitute for this recipe?
While whole milk provides the richest and creamiest results, you can experiment with milk substitutes. Almond milk, soy milk, or oat milk can be used, but the final texture and flavor may vary. Oat milk tends to yield a creamier result than almond milk. Keep in mind that some milk substitutes may require slight adjustments to the cornstarch quantity to achieve the desired thickness, as their protein and fat content differ from dairy milk.
My pudding isn’t thickening. What went wrong?
If your pudding isn’t thickening, it’s likely that the cornstarch wasn’t fully activated. This usually happens if the mixture didn’t reach a full boil or wasn’t boiled for long enough (at least 1-2 minutes) after thickening. Return the saucepan to medium heat and continue whisking constantly. Bring it back to a gentle boil and let it cook for another 2-3 minutes, whisking all the while. It should thicken noticeably. If it still doesn’t thicken, you can make a small slurry with 1 tablespoon of cornstarch and 2 tablespoons of cold milk, then whisk it into the hot pudding and continue to boil for another minute.