Introduction
There’s something undeniably comforting and utterly irresistible about a freshly baked cookie, and when that cookie is brimming with rich peanut butter flavor and crunchy nuts, it reaches a whole new level of deliciousness. Our Homemade Peanut Butter Nut Cookies are not just a treat; they’re an experience. Imagine the warm, sweet aroma filling your kitchen, promising a delightful bite that’s both chewy and crisp, packed with the unmistakable taste of roasted peanuts and creamy peanut butter. These aren’t your average cookies; they’re hearty, satisfying, and perfect for any occasion, from an afternoon pick-me-up to a delightful dessert.
What makes homemade cookies truly special? It’s the freshness, the ability to customize every ingredient to your liking, and the pure joy that comes from creating something so delicious from scratch. Forget the store-bought versions that often lack the depth of flavor and texture you crave. With this recipe, you’ll be able to control the quality of your ingredients, ensuring a superior taste that simply can’t be replicated. We’ve crafted this recipe to be straightforward and rewarding, making it accessible for bakers of all skill levels. The generous inclusion of chopped roasted peanuts ensures a delightful crunch in every single bite, perfectly complementing the smooth, nutty base.
So, whether you’re a seasoned baker looking for a new favorite or a beginner eager to dive into the wonderful world of homemade treats, these Peanut Butter Nut Cookies are calling your name. Get ready to gather your ingredients, preheat your oven, and embark on a baking adventure that will fill your home with warmth and your taste buds with pure bliss. Trust us, once you taste these homemade delights, you’ll never go back to anything less. Let’s get baking!
Nutritional Information
Per serving (approximate values, based on 24 cookies per batch):
- Calories: 220 kcal
- Protein: 6g
- Carbohydrates: 22g
- Fat: 13g
- Fiber: 2g
- Sodium: 150mg
Ingredients
- 2 cups all-purpose flour
- 1 teaspoon baking soda
- 1/2 teaspoon salt
- 1 cup (2 sticks) unsalted butter, softened to room temperature
- 1 cup granulated sugar
- 1 cup packed light brown sugar
- 1 cup creamy or chunky peanut butter
- 2 large eggs, room temperature
- 1 teaspoon vanilla extract
- 1 1/2 cups chopped roasted peanuts
Instructions
- Preheat your oven to 375°F (190°C). Line two large baking sheets with parchment paper.
- In a medium bowl, whisk together the all-purpose flour, baking soda, and salt. Set aside.
- In a large bowl, using an electric mixer on medium speed, cream together the softened butter, granulated sugar, and light brown sugar until light and fluffy, about 2-3 minutes. Scrape down the sides of the bowl as needed.
- Add the peanut butter to the butter and sugar mixture and beat until well combined, about 1 minute.
- Beat in the eggs one at a time, mixing well after each addition. Stir in the vanilla extract until just combined.
- Gradually add the dry ingredient mixture to the wet ingredients, mixing on low speed until just combined. Be careful not to overmix; stop as soon as no streaks of flour are visible.
- Fold in the chopped roasted peanuts until evenly distributed throughout the dough.
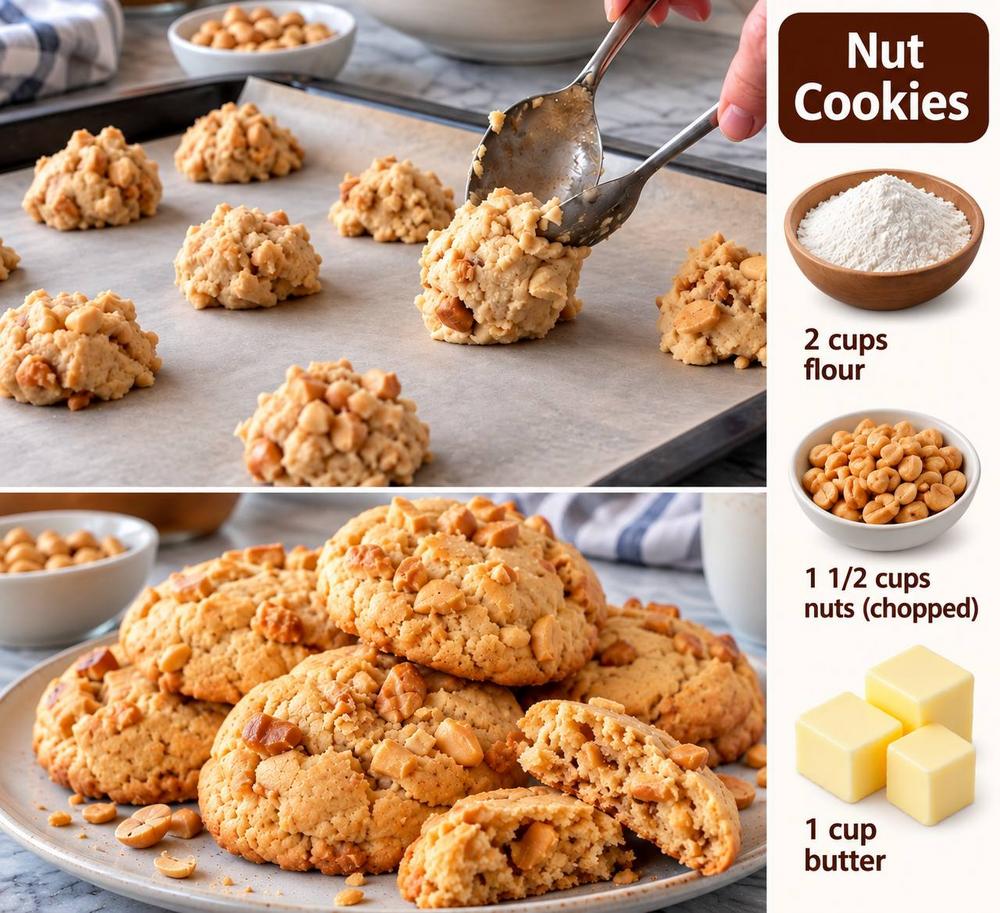
- Using a tablespoon or a 1.5-inch cookie scoop, drop rounded balls of dough onto the prepared baking sheets, leaving about 2 inches between each cookie. You can gently flatten them slightly with the back of a spoon or your fingers if desired, but they will spread.
- Bake for 9-12 minutes, or until the edges are golden brown and the centers are set but still look slightly soft. The baking time may vary depending on your oven and the size of your cookies.
- Remove the baking sheets from the oven and let the cookies cool on the sheets for 5 minutes before transferring them to a wire rack to cool completely. This allows them to set and prevents them from breaking.
- Once completely cooled, store the cookies in an airtight container.
Cooking Tips and Variations
Achieving the perfect cookie can be a delightful journey, and a few key tips can elevate your Homemade Peanut Butter Nut Cookies from good to absolutely phenomenal. First and foremost, ensure all your cold ingredients, especially the butter and eggs, are at room temperature. This allows them to cream together more smoothly with the sugars, creating a lighter, more uniform dough that bakes evenly and results in a superior texture. Speaking of texture, for chewier cookies, slightly underbake them so the centers are still quite soft when you remove them from the oven. They will continue to set as they cool. If you prefer a crisper cookie, bake them for an extra minute or two until they are golden all over.
To really boost the flavor, consider toasting your chopped peanuts lightly before adding them to the dough. A quick toast in a dry pan over medium heat for 5-7 minutes, stirring frequently until fragrant, will intensify their nutty aroma and flavor. A pinch of cinnamon or nutmeg added to the dry ingredients can also add a wonderful warmth and depth that complements the peanut butter beautifully. For those who love a sweet and salty contrast, sprinkle a tiny bit of flaky sea salt on top of the dough balls just before baking.
Don’t be afraid to experiment with variations! Chocolate chips are a classic pairing with peanut butter, and adding 1/2 to 1 cup of semi-sweet or milk chocolate chips along with the peanuts will create a truly decadent treat. You can also experiment with different types of nuts. While peanuts are traditional, walnuts, pecans, or even a mix of nuts can add their own unique flavor and crunch. Just make sure they are roughly chopped to ensure even distribution. For a richer, more complex flavor, try using dark brown sugar instead of light brown sugar. If you prefer a slightly less sweet cookie, you can reduce the sugar by 1/4 cup, but be aware that this might slightly alter the texture.
Proper measurement is crucial in baking. Always level off your flour with a straight edge to avoid adding too much, which can lead to dry, crumbly cookies. Similarly, when measuring peanut butter, ensure you get an accurate amount. Overmixing the dough after adding the flour can develop the gluten too much, resulting in tough cookies. Mix only until the ingredients are just combined. Finally, resist the urge to overcrowd your baking sheets. Give your cookies enough space to spread, typically about 2 inches apart, to ensure even baking and crispy edges. Baking in batches is always better than trying to fit too many on one sheet.
Storage and Reheating
Proper storage is key to keeping your Homemade Peanut Butter Nut Cookies fresh and delicious for as long as possible. Once the cookies have cooled completely on a wire rack, store them in an airtight container at room temperature. A cookie jar or a plastic container with a tight-fitting lid works perfectly. They will stay fresh and chewy for up to 5-7 days. To maintain their texture, you can place a slice of bread in the container with the cookies; the moisture from the bread will help keep the cookies soft (just remember to replace the bread every day or two). Avoid storing them in the refrigerator, as this can dry them out and make them hard.
If you’ve made a large batch or want to enjoy fresh-baked cookies on demand, both the baked cookies and the cookie dough can be frozen. To freeze baked cookies, arrange them in a single layer on a baking sheet and freeze until solid (about 1-2 hours). Once frozen, transfer them to a freezer-safe airtight container or heavy-duty freezer bag, separating layers with parchment paper to prevent sticking. They will keep well for up to 2-3 months. To enjoy, simply thaw them at room temperature for an hour or two. You can also warm them gently in a microwave for 10-15 seconds for a “fresh out of the oven” experience, or in a preheated oven at 300°F (150°C) for 5-7 minutes.
Freezing cookie dough is an excellent option for future baking. Scoop the dough into balls as you would for baking, then arrange them on a parchment-lined baking sheet and freeze until solid. Transfer the frozen dough balls to a freezer-safe bag or container. They can be stored for up to 3 months. When you’re ready to bake, you can bake them directly from frozen. You may need to add an extra 2-4 minutes to the baking time, or simply let them thaw on the baking sheet for 20-30 minutes before baking as usual. This “bake as needed” method is perfect for satisfying sudden cookie cravings or for unexpected guests.
Frequently Asked Questions
Can I use natural peanut butter for this recipe?
While you can use natural peanut butter, it’s important to note that it can affect the texture of the cookies. Natural peanut butter, especially the “stir” kind, tends to be oilier and can make the cookies spread more and become a bit greasier. If you do use it, make sure it’s well-stirred and smooth. For best results and a consistent texture, we recommend using a commercial creamy or chunky peanut butter (like Jif or Skippy) as they contain stabilizers that help with cookie structure.
My cookies are spreading too much. What went wrong?
Several factors can cause cookies to spread excessively. The most common reasons include butter that is too soft or melted, not chilling the dough (though not strictly required for this recipe, it can help if you’re having issues), too much leavening agent, or an oven that isn’t at the correct temperature (too low). Ensure your butter is at room temperature but not melted. You can also try chilling the scooped dough balls for 15-30 minutes before baking, which helps the butter firm up and prevents excessive spreading.
Can I make these cookies gluten-free?
Yes, you can adapt this recipe to be gluten-free. Simply substitute the all-purpose flour with an equal amount of a 1:1 gluten-free baking flour blend that contains xanthan gum. Many brands offer such blends specifically designed for baking. The rest of the ingredients and instructions should remain the same. Always check the labels of all your ingredients to ensure they are certified gluten-free if you have a severe allergy or intolerance.
How can I make my cookies chewier?
To achieve a chewier cookie, there are a few tricks. First, ensure you are using a good balance of both granulated and brown sugar, as brown sugar contributes to a chewier texture due to its molasses content. Second, avoid overbaking. Remove the cookies from the oven when the edges are set and lightly golden, but the centers still look slightly soft and underbaked. They will continue to cook and set as they cool on the hot baking sheet. Lastly, storing them in an airtight container with a slice of bread can help maintain their moisture and chewiness over time.