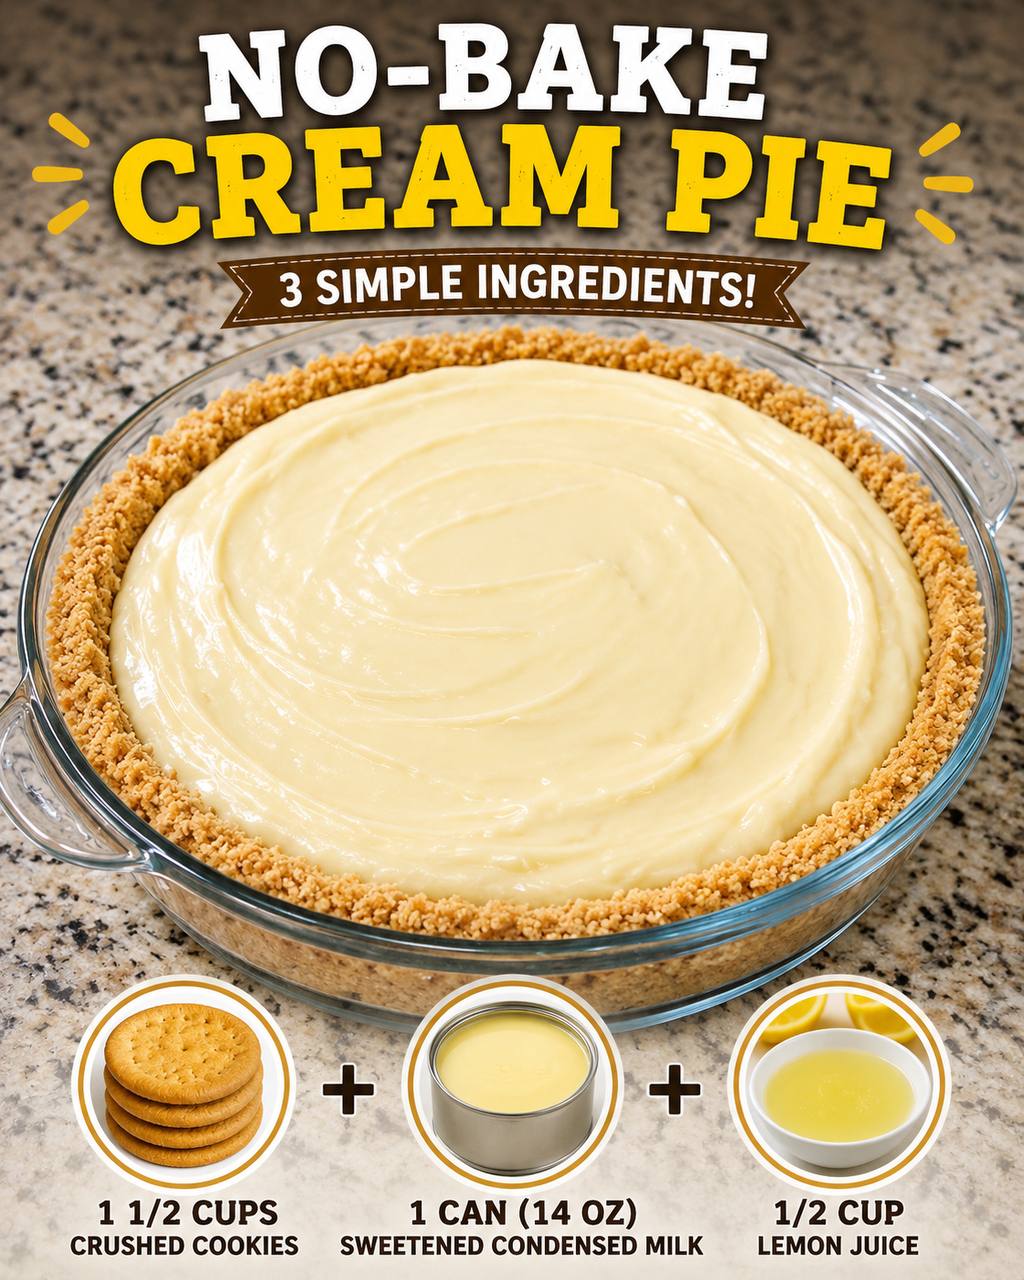
Instructions
- Prepare the Crust: If you’re using whole cookies, crush them thoroughly. You can do this by placing them in a Ziploc bag and crushing them with a rolling pin or by pulsing them in a food processor until fine crumbs form. If you’re using the optional melted butter for a sturdier crust, combine the crushed cookies with the melted butter in a medium bowl until evenly moistened.
- Form the Crust: Press the cookie mixture firmly and evenly into the bottom and up the sides of a 9-inch pie plate. You can use the bottom of a flat-bottomed glass or your fingers to ensure a compact crust. Place the pie plate in the refrigerator while you prepare the filling.
- Make the Filling: In a medium-sized mixing bowl, combine the sweetened condensed milk and the fresh lemon juice.
- Whisk Until Thickened: Vigorously whisk the mixture for 3-5 minutes, or until it visibly thickens. The acid from the lemon juice will react with the proteins in the sweetened condensed milk, causing it to thicken into a creamy consistency. You’ll notice it transform from a runny liquid to a smooth, pourable, yet much thicker filling.
- Assemble the Pie: Pour the thickened lemon cream filling into the chilled cookie crust. Use a spatula or the back of a spoon to gently spread the filling evenly across the crust.
- Chill and Set: Cover the pie loosely with plastic wrap and refrigerate for at least 2-4 hours, or preferably overnight, to allow the pie to set completely. The longer it chills, the firmer and more sliceable it will become.
- Serve and Garnish: Once fully set, remove the pie from the refrigerator. If desired, garnish with fresh lemon zest and serve with a dollop of whipped cream on each slice.
Cooking Tips and Variations
For the absolute best flavor, always opt for freshly squeezed lemon juice over bottled. Fresh lemons provide a brighter, more aromatic tang that truly elevates the pie’s taste. The subtle oils from the zest also contribute to the overall freshness. When crushing your cookies for the crust, aim for fine, even crumbs. This ensures a consistent texture that holds together well. A food processor is the easiest way to achieve this, but a Ziploc bag and a rolling pin work perfectly too. If you’re using the optional melted butter for your crust, make sure it’s fully incorporated with the crumbs. This creates a sturdier crust that is less likely to crumble when sliced and also adds a rich, buttery flavor that complements the lemon filling beautifully.
Don’t rush the chilling process! This is perhaps the most crucial step for a no-bake pie. Allowing it to chill for the recommended 2-4 hours, or even better, overnight, ensures the filling properly sets and achieves its creamy, sliceable texture. If you try to cut it too soon, the filling may be too soft. For a beautiful presentation, try garnishing your pie. A sprinkle of fresh lemon zest adds a burst of color and an extra layer of citrus aroma. A dollop of homemade or store-bought whipped cream just before serving is also a classic pairing that adds a light, airy contrast to the rich filling.
This recipe is incredibly versatile and lends itself well to several delicious variations. If you prefer a different citrus flavor, you can easily swap the lemon juice for lime juice to create a delightful No-Bake Key Lime Pie. Follow the exact same quantities and steps for a tangy twist. For an orange-inspired dessert, use fresh orange juice, but be aware that orange juice is less acidic than lemon or lime, so the filling may set slightly softer or take a little longer. You could even experiment with different types of cookies for the crust. Chocolate wafers make a fantastic contrast to the lemon filling, while gingersnaps would add a spicy, warm note.
To make individual servings, instead of a pie plate, press the cookie crust into small ramekins or mason jars. Layer with the lemon filling and chill. These are perfect for parties, picnics, or portion control. You can also add other ingredients to the filling for more complexity. A teaspoon of vanilla extract can deepen the flavor profile, or a tiny pinch of salt can actually enhance the sweetness and brightness of the lemon. For a more decadent touch, fold in some cream cheese (softened) with the sweetened condensed milk and lemon juice for an even richer, cheesecake-like texture.
Consider the temperature of your ingredients. While not as critical as in baking, ensuring your lemon juice is at room temperature can help it combine more smoothly with the sweetened condensed milk. The consistency of sweetened condensed milk can vary slightly between brands, so trust the whisking process to thicken the mixture. It will go from thin to noticeably thick and creamy. If you find your filling isn’t thickening after 5 minutes of whisking, continue for a few more minutes. The chemical reaction between the acid and milk proteins takes time to fully manifest.
Finally, when serving, use a sharp, thin knife for clean slices. You can dip the knife in hot water and wipe it clean between cuts for an even smoother presentation. This No-Bake Lemon Cream Pie is not just a dessert; it’s a canvas for your creativity, offering endless possibilities for customization while remaining fundamentally simple and delicious.
Storage and Reheating
Storing your No-Bake Lemon Cream Pie is crucial for maintaining its fresh taste and firm texture. Once the pie has fully set and you’ve served it, any leftovers should be covered tightly with plastic wrap or aluminum foil. This prevents the surface from drying out and absorbing odors from other foods in your refrigerator. Place the covered pie back into the refrigerator promptly. It will stay fresh and delicious for up to 3-4 days when stored properly. Beyond this time, the crust may start to soften, and the filling’s texture might begin to degrade slightly, though it would still be safe to eat for a little longer.
Freezing this pie is also an option if you want to prepare it further in advance or save it for a later date. To freeze, ensure the pie is completely chilled and set. Wrap the entire pie (or individual slices) very tightly in several layers of plastic wrap, followed by a layer of aluminum foil. This double layer helps prevent freezer burn. Label with the date. The pie can be stored in the freezer for up to 1 month. When you’re ready to enjoy it, transfer the frozen pie to the refrigerator and allow it to thaw slowly overnight. Do not try to thaw it at room temperature, as this can affect the texture and potentially cause the filling to weep. Once thawed, it will be ready to serve. Note that the texture of the crust might be slightly softer after freezing and thawing, but the flavor of the filling should remain excellent.
Since this is a no-bake dessert, there is no “reheating” process in the traditional sense. The pie is meant to be served chilled. If you’ve taken it out of the refrigerator for serving and have leftovers, simply return them to the fridge. Avoid leaving the pie at room temperature for extended periods (more than 2 hours), especially in warm environments, as this can compromise its safety and cause the filling to soften significantly. Always keep it chilled until ready to serve for the best experience.
Frequently Asked Questions
Can I use bottled lemon juice instead of fresh?
While you certainly can use bottled lemon juice in a pinch, we highly recommend using freshly squeezed lemon juice for the best flavor. Fresh lemon juice provides a brighter, more vibrant, and complex tang that bottled versions often lack. The difference in taste is quite noticeable and elevates the pie from good to truly exceptional.
Why didn’t my pie filling set properly?
The most common reason for a filling not setting is insufficient chilling time. The chemical reaction between the acid in the lemon juice and the proteins in the sweetened condensed milk needs time in the refrigerator to fully solidify. Ensure you whisk the mixture until it visibly thickens before pouring it into the crust, and then allow it to chill for at least 2-4 hours, or preferably overnight. If it’s still too soft after adequate chilling, it might be due to using too much lemon juice or not whisking vigorously enough to initiate the thickening process.
Can I make this pie ahead of time?
Absolutely! This No-Bake Lemon Cream Pie is an excellent dessert for making ahead. In fact, making it the day before you plan to serve it is ideal, as it allows plenty of time for the pie to chill and set completely. This also helps the flavors meld beautifully. Just be sure to cover it tightly with plastic wrap and store it in the refrigerator until ready to serve.
What kind of cookies are best for the crust?
For the crust, classic choices like Nilla Wafers, graham crackers, or shortbread cookies work wonderfully. They all provide a delicate sweetness and a good crumb texture that holds together well. You can experiment with other cookies like chocolate wafers for a chocolate-lemon combination, or even gingersnaps for a spiced twist, depending on your preference.