Instructions
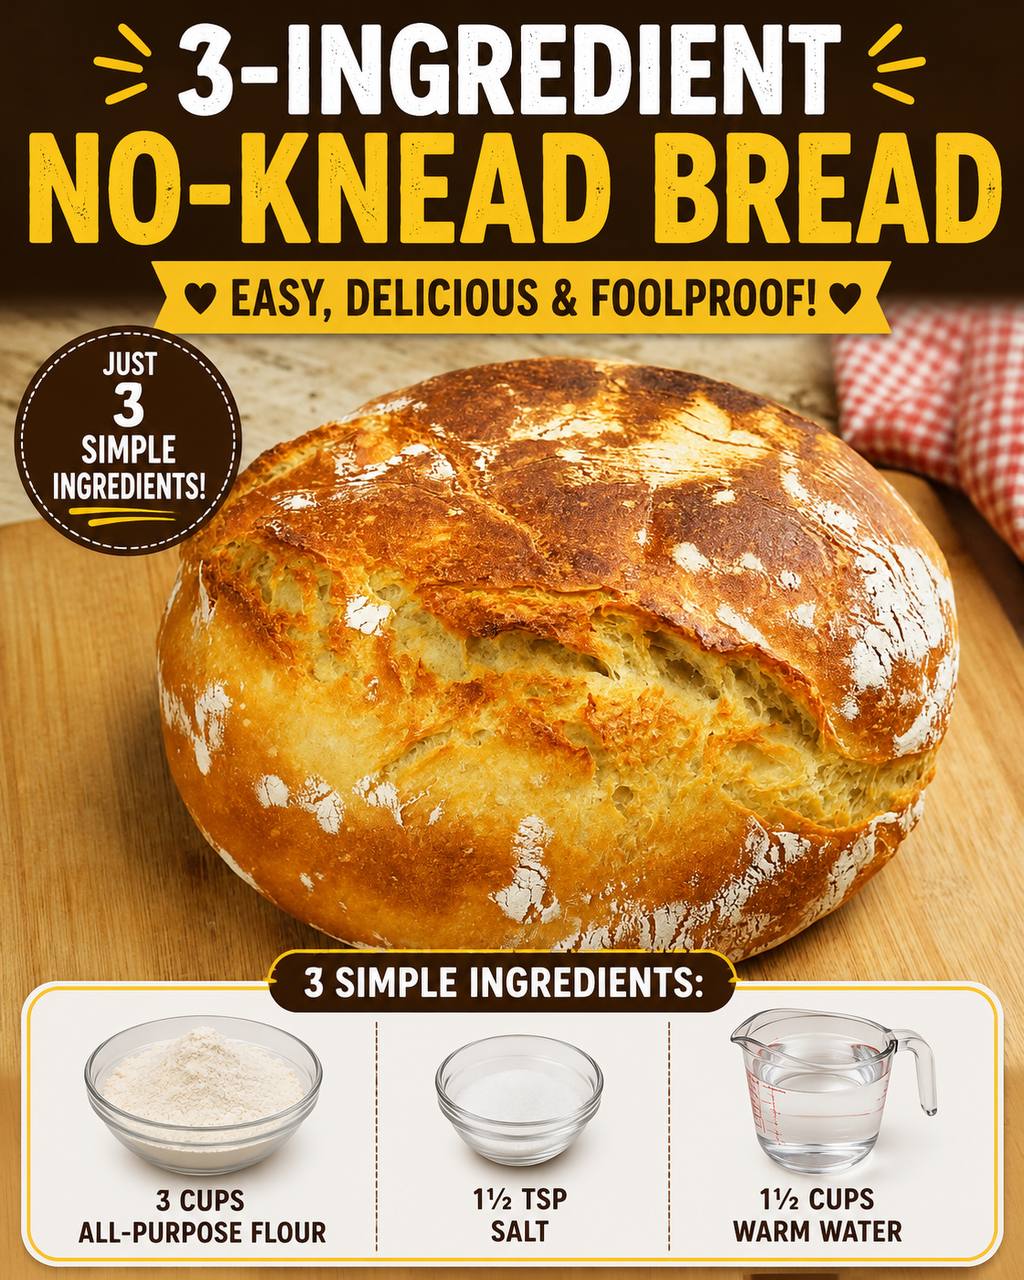
- Combine Dry Ingredients: In a large mixing bowl, combine the all-purpose flour, sea salt, and yeast. Whisk them together thoroughly to ensure the salt and yeast are evenly distributed throughout the flour. This step is crucial for consistent rising and flavor.
- Add Water and Mix: Pour the warm water into the bowl with the dry ingredients. Using a sturdy spatula or wooden spoon, mix until all the flour is fully incorporated and no dry spots remain. The dough will be shaggy, sticky, and wet – this is exactly what you want. Do not knead the dough; simply mix until just combined.
- First Rise (Long Fermentation): Cover the bowl tightly with plastic wrap or a clean kitchen towel. Place the bowl in a warm, draft-free spot in your kitchen. Allow the dough to rise at room temperature for a minimum of 12 hours, and ideally 18-24 hours. During this long fermentation, the dough will become bubbly, nearly double in size, and develop a complex flavor.
- Prepare for Baking: After the long rise, approximately 30 minutes before you’re ready to bake, place your empty Dutch oven (with its lid) into your oven. Preheat the oven to 450°F (232°C). This ensures the Dutch oven is screaming hot, which is vital for the crust.
- Shape the Dough (Minimal Handling): While the oven and Dutch oven are preheating, gently scrape the risen dough out onto a lightly floured surface (you’ll notice how soft and airy it is). With floured hands, gently fold the edges of the dough towards the center a few times to create a rough ball shape. Do not aggressively knead or deflate the dough.
- Second Rise (Optional, but Recommended): Line a medium bowl or a proofing basket with parchment paper or a heavily floured kitchen towel. Carefully transfer the shaped dough into the prepared bowl/basket, seam-side up if using a towel. Cover lightly with plastic wrap or another towel and let it rest for 20-30 minutes while the Dutch oven finishes preheating. This short second rise helps the dough relax and expand.
- Transfer to Hot Dutch Oven: Once the oven and Dutch oven are fully preheated, carefully remove the hot Dutch oven from the oven (use oven mitts!). Lift the dough using the parchment paper (or invert it carefully from the floured towel) and gently lower it into the hot Dutch oven. If desired, you can score the top of the dough with a sharp knife or razor blade (a simple “X” or a few parallel lines) for aesthetic appeal and controlled expansion.
- Bake Covered: Place the lid back on the Dutch oven and carefully return it to the preheated oven. Bake covered for 30 minutes. The lid traps steam, which helps the crust remain pliable and allows the loaf to expand fully, resulting in a thin, crisp crust.
- Bake Uncovered: After 30 minutes, carefully remove the lid from the Dutch oven. Return the uncovered Dutch oven to the oven and bake for an additional 10-20 minutes, or until the crust is a deep golden brown and sounds hollow when tapped on the bottom. The exact time will depend on your oven and desired crust color.
- Cool Completely: Using oven mitts, carefully remove the Dutch oven from the oven. Carefully lift the bread out of the Dutch oven using the parchment paper and transfer it to a wire cooling rack. This step is critical! Allow the bread to cool completely for at least 1-2 hours before slicing. Slicing too early will result in a gummy interior.
Cooking Tips and Variations
For the best results with your No-Knead Artisan Dutch Oven Bread, pay close attention to the quality of your ingredients. Using unbleached all-purpose flour often yields a slightly better texture and flavor. The water temperature is also crucial; it should be warm enough to activate the yeast (like warm bathwater) but not so hot that it kills it. A digital thermometer can be very helpful here. For an even chewier crumb, consider using bread flour instead of all-purpose, or a 50/50 blend of both.
The long rise time is non-negotiable for this recipe’s success. Don’t rush it! The extended fermentation develops both flavor and texture. If your kitchen is particularly cold, the rise might take longer; a slightly warmer spot will speed it up. You’ll know it’s ready when the dough is visibly bubbly and has expanded significantly. When handling the dough, remember the mantra “minimal handling.” The goal is to preserve the airy structure developed during the long rise, so avoid aggressive kneading or pressing out the gas.
The Dutch oven is truly the star of this show. Its ability to create a steamy environment is what gives this bread its characteristic crispy, blistered crust. Always preheat it thoroughly with the oven. Safety is paramount when dealing with a hot Dutch oven; use heavy-duty oven mitts and be cautious when transferring the dough. If you don’t have a Dutch oven, a heavy oven-safe pot with a tight-fitting lid can work, or you can try baking on a preheated baking stone with a pan of hot water in the oven to create steam, though the results may not be identical.
To customize your loaf, consider adding flavorings during the initial mixing stage. For a savory twist, incorporate 1-2 tablespoons of dried herbs like rosemary or thyme, 1-2 cloves of minced garlic, or a sprinkle of shredded hard cheese. For a seedier bread, add a tablespoon or two of sesame seeds, poppy seeds, or a mixed seed blend. You can also experiment with different flours; replacing a quarter to a third of the all-purpose flour with whole wheat flour will add a nutty flavor and denser texture, though you might need a tiny bit more water.
Storage and Reheating
Once your No-Knead Artisan Dutch Oven Bread has cooled completely, it’s ready to be enjoyed. For optimal freshness, store any leftover bread at room temperature in a paper bag for up to 2 days to maintain its crust, then transfer to an airtight container or plastic bag for another 1-2 days. Avoid storing it in the refrigerator, as this tends to dry out bread quickly and make it stale. For longer storage, this bread freezes beautifully. Once completely cooled, slice the loaf or wrap the whole loaf tightly in plastic wrap, then an additional layer of aluminum foil. It can be frozen for up to 3 months.
To reheat a whole loaf of frozen bread, remove all packaging and place the frozen loaf directly into a cold oven. Set the oven to 300°F (150°C) and bake for 30-40 minutes, or until warmed through. For individual slices, you can toast them directly from frozen. A whole, room-temperature loaf can be refreshed by sprinkling it lightly with water and baking in a 350°F (175°C) oven for 5-10 minutes, or until the crust is crisp again. This method works wonders to revive a day-old loaf, bringing back that fresh-baked aroma and texture.
Frequently Asked Questions
Why do I need a Dutch oven for this recipe?
A Dutch oven is crucial because it creates a steamy, enclosed environment similar to a professional baker’s oven. The steam prevents the crust from forming too quickly, allowing the dough to expand fully and producing a thin, incredibly crispy, and blistered crust. Without it, your bread might have a thicker, tougher crust and a less airy interior.
Can I use active dry yeast instead of instant yeast?
Yes, you can use active dry yeast. The amount is the same (1/4 teaspoon). The only difference is that active dry yeast traditionally needs to be “proofed” or activated in warm water with a pinch of sugar before being added to the dry ingredients. However, for a no-knead recipe with a long fermentation, you can often add it directly to the dry ingredients with warm water, and it will activate over time. If you prefer to proof it, simply dissolve it in a small portion of the warm water for 5-10 minutes until foamy, then add to the flour mixture.
My dough didn’t rise much. What went wrong?
Several factors can inhibit dough rise. The most common reasons include using expired yeast, water that was too hot (killing the yeast) or too cold (not activating it), or a kitchen that was too cold for an adequate rise. Ensure your yeast is fresh, your water is the correct temperature (105-115°F), and your dough has a warm, draft-free spot to rise for the full recommended time.
Why is it so important to cool the bread completely?
Cooling the bread completely on a wire rack is essential for the internal structure to set properly. As the bread cools, the starches inside continue to solidify, leading to a firm, chewy crumb. If you cut into the bread while it’s still warm, the steam trapped inside will escape too quickly, resulting in a gummy, dense texture and a less satisfying eating experience. Patience is a virtue when it comes to cooling bread!
Conclusion
Congratulations, you’re now equipped to bake an extraordinary loaf of No-Knead Artisan Dutch Oven Bread! This recipe truly embodies the joy of baking without the intimidation, proving that gourmet results are accessible to everyone, regardless of their baking experience. From the satisfying crackle of the crust to the soft, airy interior, each bite is a testament to the magic of simple ingredients and a little bit of time. The minimal effort required for such a spectacular outcome makes this recipe a true game-changer in any home kitchen.
There’s an undeniable pleasure in pulling a warm, golden-brown loaf from your oven, knowing you created it from scratch with just flour, water, salt, and yeast. This bread isn’t just food; it’s an experience – a sensory delight that transforms any meal into a special occasion. Whether you’re serving it alongside a hearty stew, slathering it with butter and jam, or simply enjoying a slice on its own, its robust flavor and perfect texture are sure to impress.
So, don’t hesitate. Gather your few ingredients, embrace the simplicity of the no-knead method, and prepare to embark on a delightful baking journey. We encourage you to try this recipe, experiment with the variations, and share your incredible results. Get ready to fill your home with the irresistible aroma of freshly baked bread and savor the incredible satisfaction of your very own homemade masterpiece!