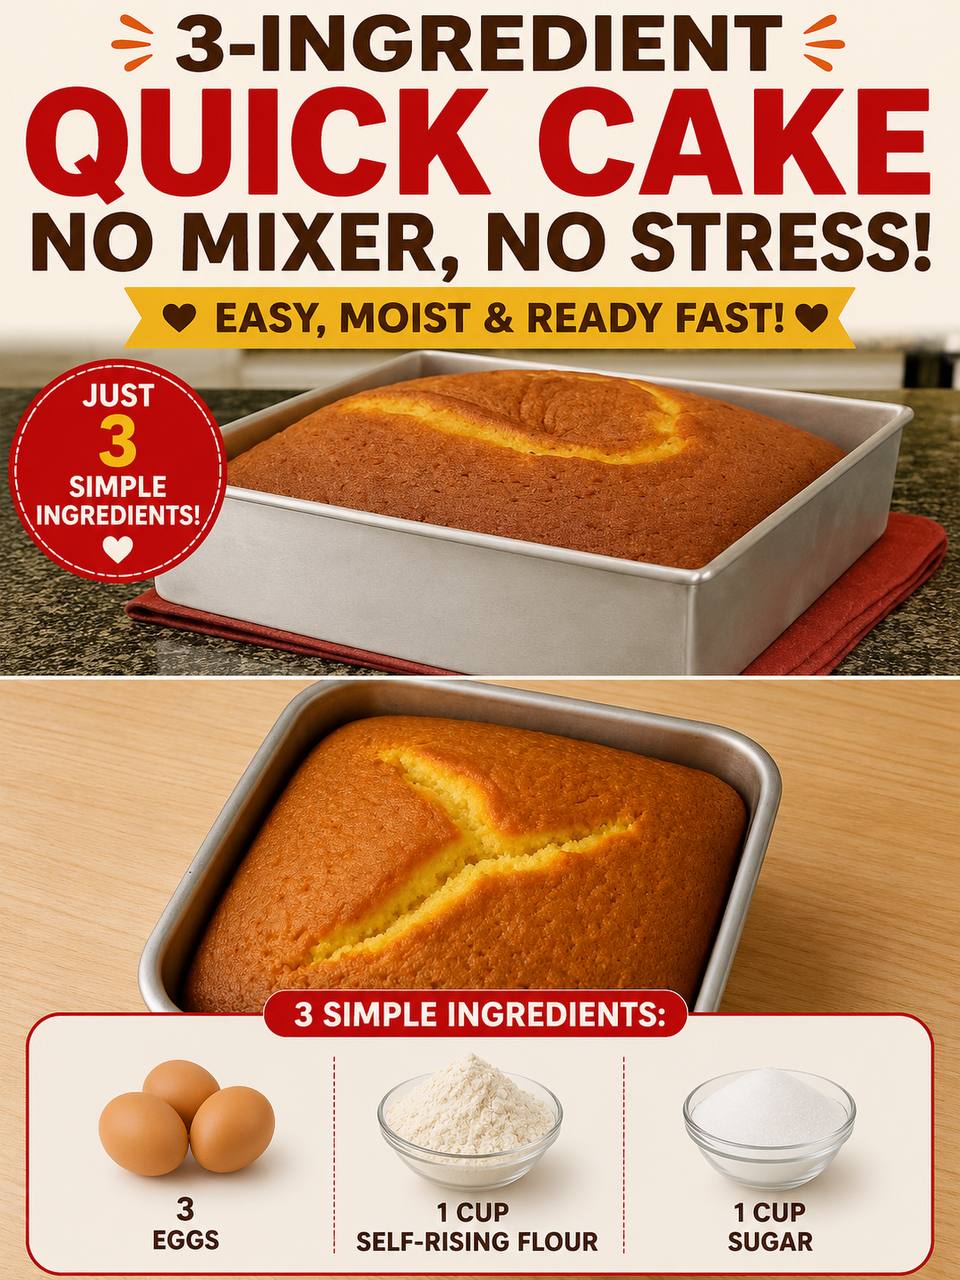
Instructions
- Preheat your oven to 350°F (175°C). Grease and flour an 8×8 inch (20×20 cm) square baking pan, or line it with parchment paper for easy removal.
- In a large mixing bowl, crack the three large eggs. Whisk them vigorously by hand for about 2-3 minutes until they are light, frothy, and slightly pale. This incorporates air, which is crucial for the cake’s lift since we’re not using baking powder or soda separately.
- Gradually add the granulated sugar to the beaten eggs, whisking continuously. Continue whisking for another 2-3 minutes until the mixture is thick, pale yellow, and the sugar has largely dissolved. The mixture should fall in ribbons when you lift the whisk. If using, stir in the vanilla extract and a pinch of salt at this stage.
- Gently fold in the self-rising flour, about one-third at a time, using a spatula or a large spoon. Fold until just combined, being careful not to overmix. Overmixing can develop the gluten in the flour too much, leading to a tough cake. The batter should be smooth but still light and airy.
- Pour the batter evenly into your prepared baking pan. Gently tap the pan on the counter a couple of times to release any large air bubbles.
- Bake for 25-30 minutes, or until a wooden skewer or toothpick inserted into the center of the cake comes out clean. The top should be golden brown and spring back lightly when touched.
- Remove the cake from the oven and let it cool in the pan for about 10-15 minutes. This allows the cake to firm up before handling.
- After cooling slightly in the pan, carefully invert the cake onto a wire rack to cool completely. If you lined the pan with parchment, you can lift it out using the paper.
- Once completely cooled, slice and serve.
Cooking Tips and Variations
For the best results with your Quick Cake, paying attention to a few details can elevate your baking experience. Firstly, ensure your eggs are at room temperature. This allows them to whip up to a greater volume, incorporating more air into the batter, which is essential for the cake’s light and airy texture without additional leavening agents. Cold eggs won’t emulsify as well and will result in a denser cake. Don’t rush the whisking process in step 2 and 3; the aeration of the eggs and sugar is key to the cake’s lift and tenderness. Continue whisking until the mixture is significantly lighter in color and thicker, almost like a thin meringue.
When it comes to folding in the self-rising flour, remember the golden rule of baking: do not overmix. Overmixing develops the gluten in the flour, leading to a tough, chewy cake rather than a tender, moist one. Fold gently until just combined, with no streaks of dry flour visible. A few small lumps are better than an overmixed batter. Speaking of flour, if you don’t have self-rising flour on hand, you can easily make your own by combining 1 cup of all-purpose flour with 1.5 teaspoons of baking powder and 1/4 teaspoon of salt. However, note that this technically makes it a 5-ingredient cake, diverging from our 3-ingredient promise, but it’s a useful substitute in a pinch.
Accuracy in baking is crucial, especially with simpler recipes. Ensure your oven is preheated to the correct temperature by using an oven thermometer. Oven temperatures can vary significantly, and an accurate temperature prevents uneven baking or a cake that doesn’t rise properly. The pan size also matters; an 8×8 inch square pan or a small loaf pan works best for this recipe. Using a larger pan will result in a thinner cake that bakes faster and might dry out, while a smaller pan might require a longer baking time and could lead to a very dense cake.
To prevent the cake from sticking, always grease and flour your pan thoroughly. For extra assurance, you can line the bottom with parchment paper, allowing for easy removal once baked. Once the cake is out of the oven, resist the urge to remove it from the pan immediately. Allowing it to cool in the pan for 10-15 minutes helps it set and prevents it from breaking apart when transferred to a wire rack. For storing leftovers, keep the cake in an airtight container at room temperature for up to 3 days to maintain its freshness and moisture.
Variations:
- Vanilla Dream: While not counted in the core three ingredients, adding 1 teaspoon of good quality vanilla extract dramatically enhances the flavor. A pinch of salt also helps balance the sweetness.
- Citrus Zest: For a bright, zesty cake, add the finely grated zest of one lemon or orange to the egg and sugar mixture.
- Spiced Delight: Incorporate 1/2 teaspoon of ground cinnamon or a mix of pumpkin pie spice with the flour for a warm, aromatic cake.
- Chocolate Marble: Before the final fold, remove about 1/4 of the batter and mix in 1 tablespoon of unsweetened cocoa powder. Drizzle this chocolate batter over the plain batter in the pan and swirl gently with a knife for a marbled effect.
- Toppings Galore: Once cooled, this simple cake is a blank canvas for toppings. Dust with powdered sugar, drizzle with a simple glaze (powdered sugar mixed with a touch of milk or lemon juice), spread with whipped cream and fresh berries, or even a light chocolate ganache.
- Individual Servings: Bake the batter in a muffin tin for quick cupcakes. Adjust baking time to 15-20 minutes.
Storage and Reheating
Storing your Quick Cake properly will help maintain its deliciousness and moist texture for several days. Once the cake has completely cooled to room temperature, transfer it to an airtight container. This prevents it from drying out and absorbing odors from other foods. You can store the cake at room temperature for up to 3 days. For longer storage, especially in warmer climates, you may refrigerate it, which can extend its freshness for up to 5 days. If refrigerating, consider wrapping individual slices in plastic wrap before placing them in the airtight container to further protect against moisture loss.
Reheating this Quick Cake is straightforward. If it has been stored at room temperature, it’s often perfect as is, especially if you prefer it soft and tender. However, if you enjoy a warm slice, or if the cake has been refrigerated, you can gently reheat it. For individual slices, place them in the microwave for 10-20 seconds on medium power until just warm through. Be careful not to overheat, as this can dry out the cake. Alternatively, you can warm slices in a preheated oven at 300°F (150°C) for about 5-7 minutes. This method can help restore some of the crispy edges while keeping the interior moist. Avoid reheating the entire cake multiple times, as this can lead to a significant loss of moisture and texture.
Frequently Asked Questions
Can I use all-purpose flour instead of self-rising flour?
Yes, you can, but you’ll need to add leavening agents. To make self-rising flour from all-purpose flour, for every cup of all-purpose flour, mix in 1.5 teaspoons of baking powder and 1/4 teaspoon of salt. Keep in mind this technically makes it a 5-ingredient cake, but it’s a perfectly acceptable substitute if self-rising flour isn’t available.
My cake didn’t rise much. What went wrong?
The most common reasons for a cake not rising are insufficient whisking of the eggs and sugar, or overmixing the flour. The vigorous whisking creates the air bubbles necessary for lift, so ensure the egg and sugar mixture is pale, thick, and ribbon-like before adding flour. Also, gentle folding of the flour is crucial; overmixing develops gluten, leading to a dense cake that can’t hold its rise.
How can I tell if the cake is fully baked?
The best way to check for doneness is by inserting a wooden skewer or toothpick into the center of the cake. If it comes out clean, with no wet batter clinging to it, the cake is ready. The top of the cake should also be golden brown and spring back lightly when gently touched.
Can I add fruit or chocolate chips to this cake?
While you can, it’s important to do so sparingly to maintain the cake’s delicate structure, especially since it relies heavily on the aeration of eggs for its lift. If adding fruit (like berries) or chocolate chips, toss them lightly in a tablespoon of flour before folding them into the batter. This helps prevent them from sinking to the bottom. Stick to about 1/4 to 1/2 cup of additions to avoid weighing down the batter too much.