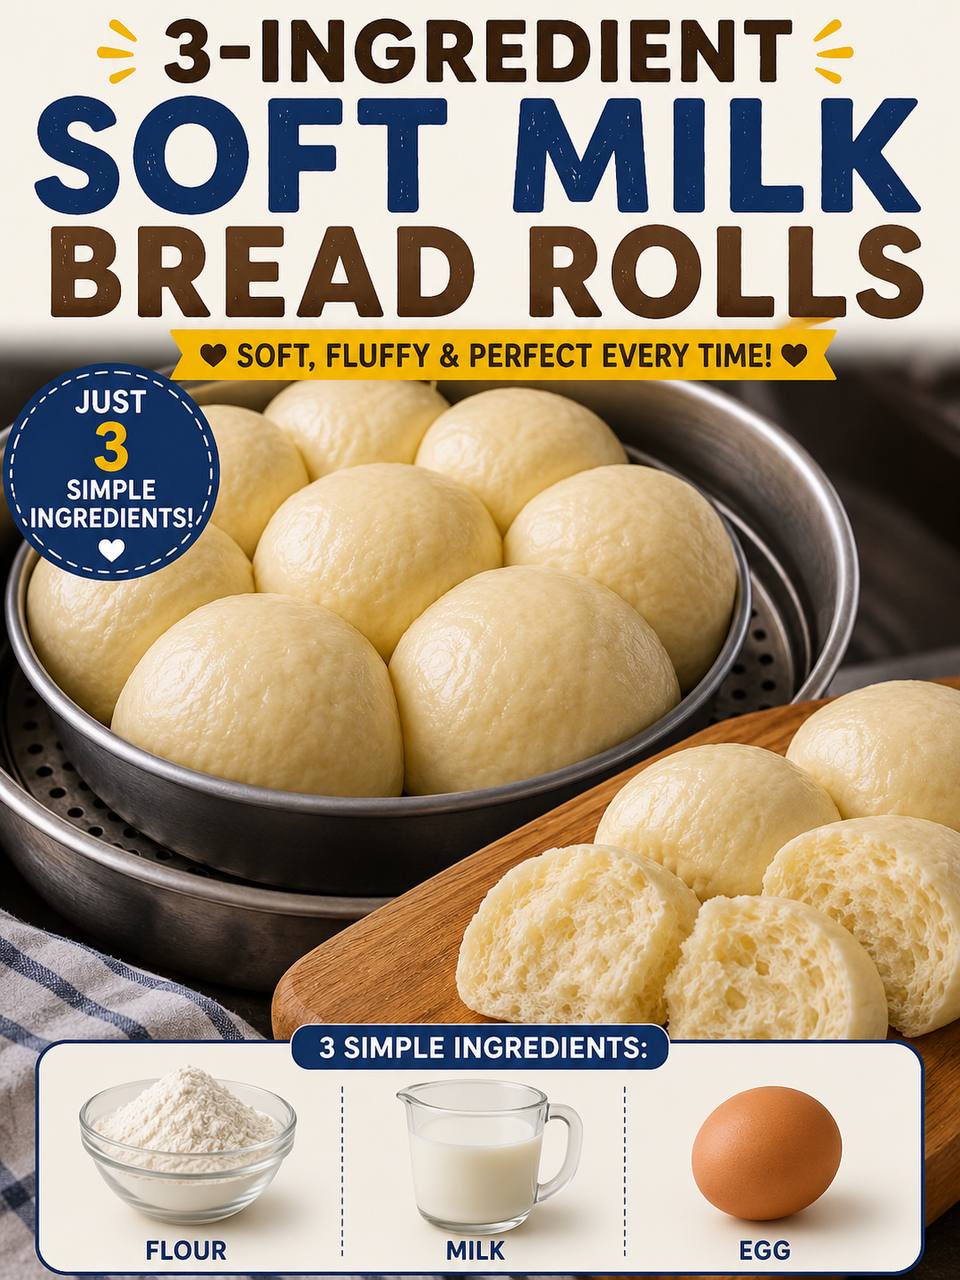
Instructions
- Activate the Yeast: In a large mixing bowl, combine the warm milk (ensure it’s between 105-115°F / 40-46°C, not too hot or it will kill the yeast), 2 tablespoons of granulated sugar, and 1 teaspoon of active dry yeast. Stir gently and let it sit for 5-10 minutes. The mixture should become foamy and bubbly, indicating that the yeast is active. If it doesn’t foam, your yeast might be old or the milk temperature was off, and you should start again.
- Combine Wet and Dry Ingredients: Once the yeast is active, crack the large egg into the milk mixture and whisk well to combine. In a separate bowl, whisk together the 2 cups of all-purpose flour and 1/2 teaspoon of salt.
- Form the Dough: Gradually add the dry ingredients to the wet ingredients, mixing with a wooden spoon or spatula until a shaggy dough forms.
- Knead the Dough: Turn the dough out onto a lightly floured surface. Knead for 5-7 minutes until the dough is smooth, elastic, and no longer sticky. While this recipe is simple, a bit of kneading is crucial to develop the gluten for that wonderful soft and chewy texture. If the dough is too sticky, add a very small amount of flour (1 teaspoon at a time); if it’s too dry, add a few drops of milk.
- First Proofing: Lightly grease a clean bowl with a little oil. Place the dough in the bowl, turning it once to coat all sides. Cover the bowl tightly with plastic wrap or a clean kitchen towel. Let the dough rise in a warm, draft-free place for 1 to 1.5 hours, or until it has doubled in size. The exact time will depend on the warmth of your environment.
- Prepare the Steamer: While the dough is proofing, prepare your steamer. Fill the bottom pot of your steamer with about 2-3 inches of water, ensuring the water level is below the steamer basket. Line your steamer basket(s) with parchment paper cut into circles, or use individual parchment squares for each roll. This prevents sticking and makes cleanup easier.
- Shape the Rolls: Once the dough has doubled, gently punch it down to release the air. Turn the dough out onto a lightly floured surface and divide it into 8-10 equal portions (depending on your desired roll size). Roll each portion into a smooth, round ball.
- Second Proofing (in Steamer): Arrange the shaped rolls in the prepared steamer basket(s), leaving enough space between them as they will expand further during steaming. Cover the steamer basket(s) with a lid. Let the rolls proof for another 20-30 minutes, or until they look visibly puffy. This second proofing is vital for achieving maximum fluffiness.
- Steam the Rolls: Place the steamer basket(s) over the pot of water. Bring the water to a rolling boil over high heat. Once boiling, reduce the heat to medium-high and steam the rolls for 10-15 minutes. The exact time will depend on the size of your rolls and the efficiency of your steamer. To prevent water condensation from dripping onto the rolls, you can wrap the steamer lid with a clean kitchen towel before placing it on top.
- Check for Doneness: The rolls are done when they are puffed up, soft to the touch, and spring back when gently pressed. They will have a pale, smooth, and slightly glossy appearance.
- Cool and Serve: Carefully remove the steamer basket from the heat. Let the rolls cool in the steamer for a few minutes before transferring them to a wire rack. Serve warm or at room temperature.
Cooking Tips and Variations
Achieving perfectly soft and fluffy steamed rolls is incredibly satisfying, and with a few expert tips, you can ensure success every time. The temperature of your milk is paramount when activating yeast; too hot will kill it, too cold won’t activate it. Aim for a comfortable warmth, like a baby bottle. Don’t be afraid to adjust flour slightly during kneading if the dough feels too sticky or dry; humidity can play a role. For an even smoother finish, you can lightly brush the tops of the rolls with a little water before steaming. To prevent the notorious “wrinkly skin” often seen on steamed buns, ensure your steamer lid is tightly sealed but also consider wrapping it with a cloth to absorb condensation. When dividing the dough, using a kitchen scale can help ensure uniform roll sizes, leading to even steaming. Don’t overcrowd your steamer basket; give the rolls plenty of room to expand. A common mistake is opening the steamer lid too early; resist the urge for at least 5 minutes after the steaming time to prevent the rolls from deflating. For variations, you can add a tablespoon of sugar to the dough for a sweeter roll, or a pinch of garlic powder and dried herbs for a savory option. Replace a quarter of the all-purpose flour with whole wheat flour for a slightly nuttier flavor and added fiber, though this may result in a slightly denser roll. For a richer flavor, you can swap some of the milk for coconut milk. Experiment with adding a teaspoon of vanilla extract or a pinch of cardamom for a dessert-like roll. You can also fill these rolls with sweet or savory fillings before the second proofing for a delightful surprise!
Storage and Reheating
These Soft Steamed Bread Rolls are best enjoyed fresh and warm, straight from the steamer, when their texture is at its peak. However, if you have any leftovers, proper storage will help maintain their wonderful softness. Once completely cooled, store the rolls in an airtight container or a resealable plastic bag at room temperature for up to 2-3 days. For longer storage, they freeze exceptionally well. Place the cooled rolls in a freezer-safe bag, ensuring as much air is removed as possible, and freeze for up to 1 month. When reheating from the refrigerator, the best method to revive their original softness is to re-steam them. Place the rolls in a steamer basket over simmering water for 3-5 minutes, or until heated through and soft. You can also lightly microwave them for 15-30 seconds per roll, but be careful not to overdo it, as microwaving can sometimes make them chewy if heated for too long. If reheating from frozen, you can steam them directly from frozen for about 8-10 minutes, or until they are soft and warm throughout. Avoid reheating in a conventional oven, as this will dry them out and create a crust, losing their signature steamed texture.
Frequently Asked Questions
My rolls came out dense and heavy. What went wrong?
Several factors can lead to dense rolls. The most common issues are inactive yeast (ensure your milk is warm, not hot, and the yeast foams), insufficient kneading (gluten development is key for lightness), or under-proofing (the dough didn’t rise enough during either proofing stage). Make sure your rising environment is warm and draft-free, and give the dough ample time to double in size.
Can I make these rolls without a traditional steamer?
Absolutely! You can improvise a steamer using a large pot with a tight-fitting lid and a heat-proof colander or metal sieve that fits snugly inside without touching the water. Place a few inches of water in the pot, bring it to a boil, then place the colander with your rolls (lined with parchment paper) inside, cover the pot with its lid (or wrap the lid with a towel to prevent condensation drips), and steam as directed.
Why did my rolls get wrinkly on top after steaming?
Wrinkly tops are often caused by condensation dripping onto the rolls during steaming or by opening the steamer lid too quickly after cooking. To prevent this, wrap your steamer lid with a clean kitchen towel before placing it on the steamer. Also, after the steaming time is complete, turn off the heat and let the rolls sit in the covered steamer for an additional 2-3 minutes before carefully lifting the lid. This allows the internal temperature to stabilize and reduces the risk of sudden deflation.
Can I prepare the dough ahead of time?
Yes, you can! After the first proofing, you can punch down the dough, shape the rolls, and then place them on parchment-lined squares in an airtight container in the refrigerator for up to 12-18 hours. When you’re ready to steam, take them out of the fridge and let them come to room temperature and complete their second proofing (which might take a bit longer) before steaming.